MINI Cooper Auxiliary Serpentine Fan Belt Change (Replacement Without Special Tools)
This is a tutorial to replace a Mini Cooper auxiliary belt, serpentine belt, or some people call it fan belt. In this article ill be sharing the method I use to change the auxiliary belt without using special tool. The car I am working on is a 2005 Mini Cooper R50 where the production runs from 2001 to 2008 depending on the country you are living. Let’s get the work started!
Step 1: Remove the front wheel (Driver’s side for right hand drive country)
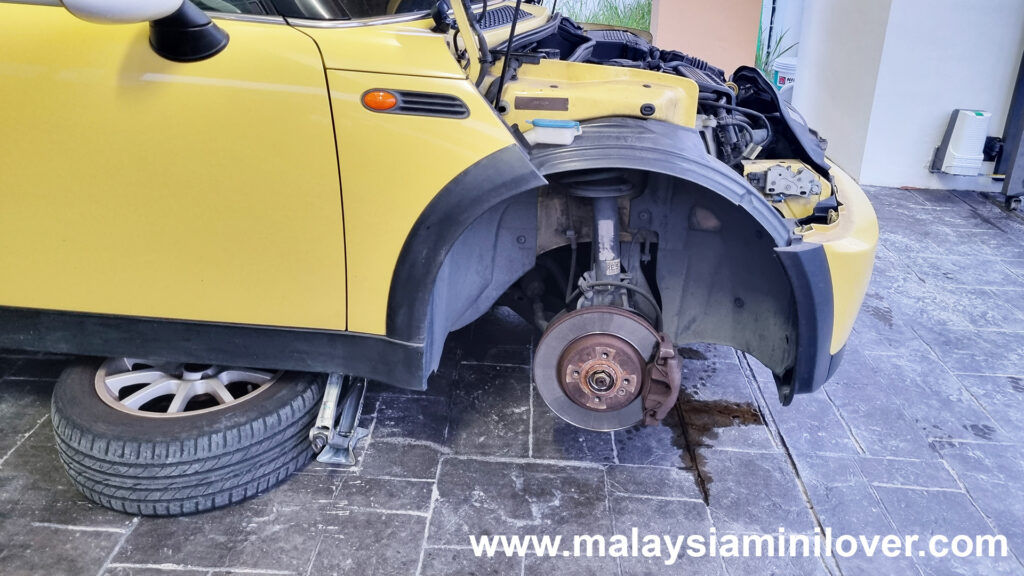
Step 2: Remove the Wheel Well Liner
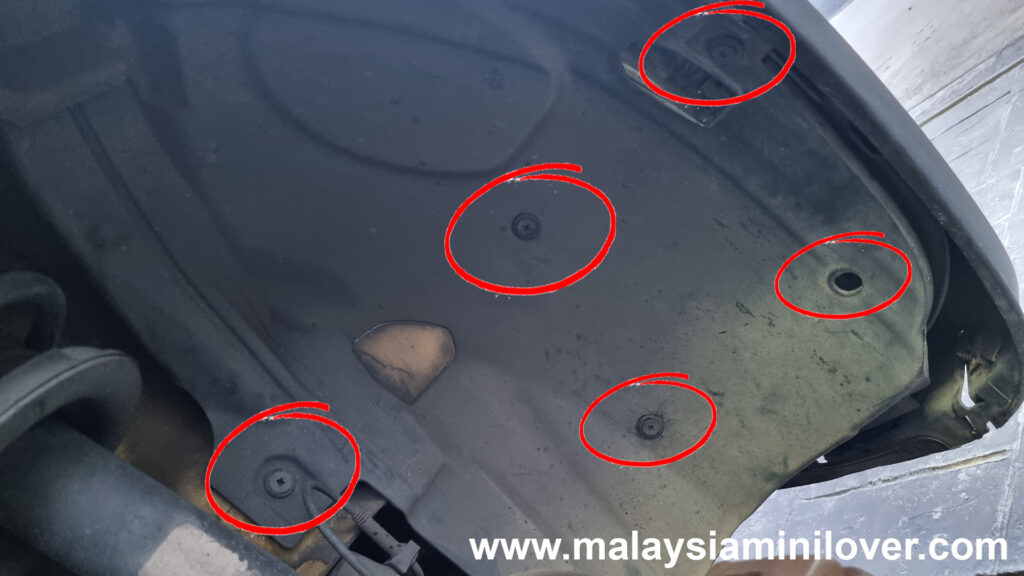
There are a total number of 10 bolts holding the wheel well liner, remove 9 is enough as we don’t need to remove the wheel well liner entirely. There is 1 more on top which is not shown in the image.
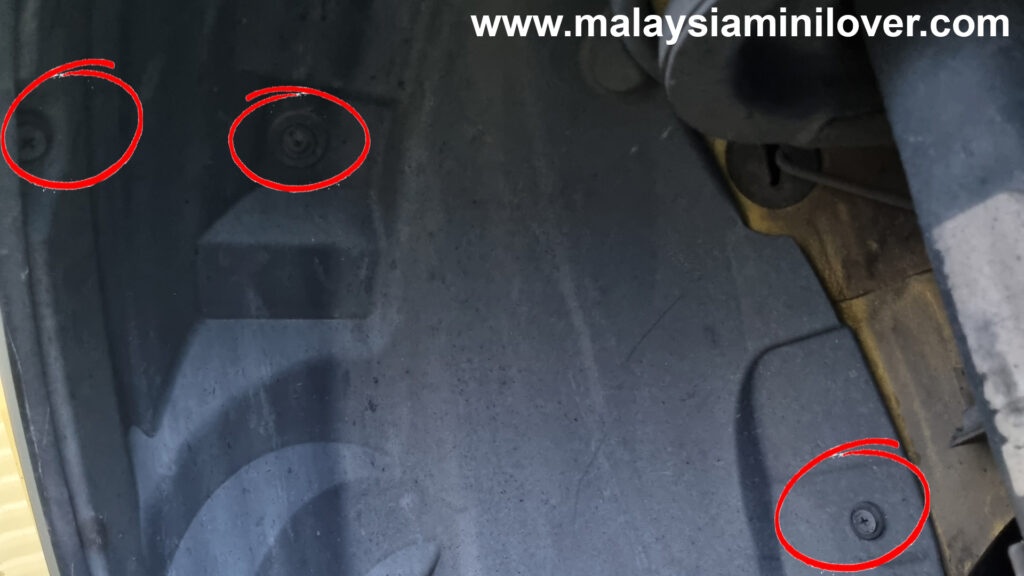
Just push the wheel well liner aside and now you can access the pulley and also the auxiliary belt, serpentine belt, fan belt or whatever you call it.
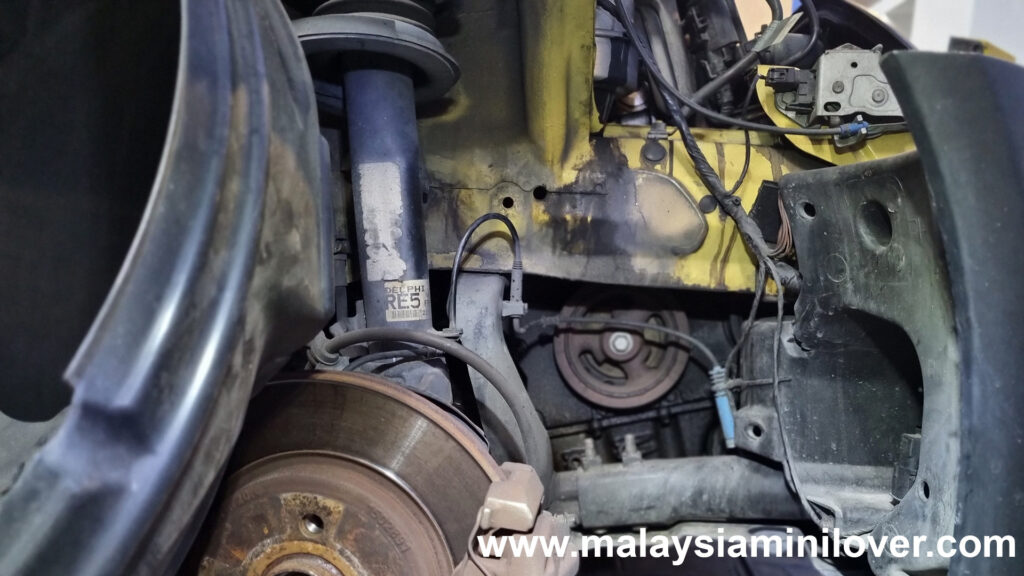
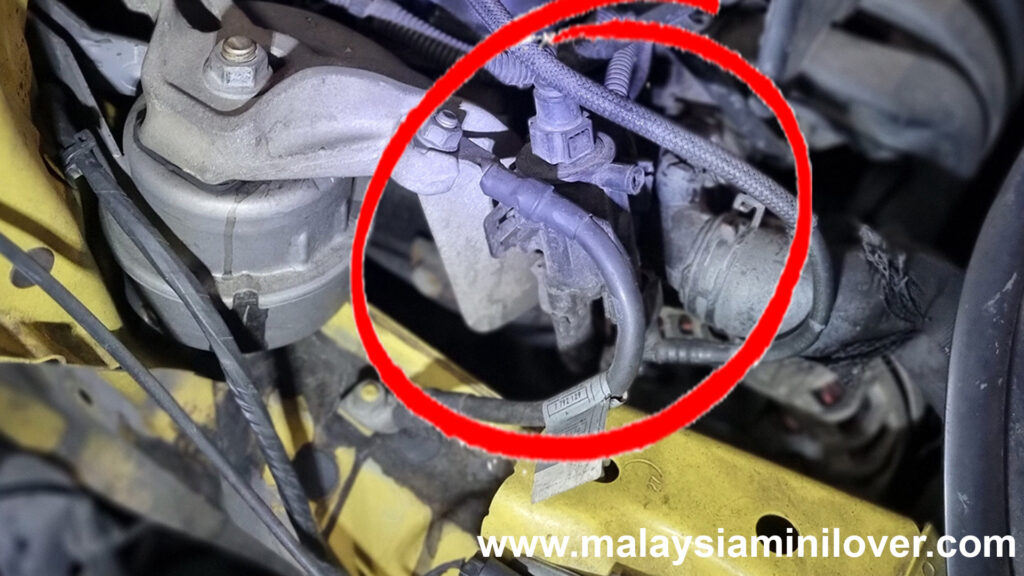
Step 3: Remove the Solenoid
It is a must to remove the solenoid in order to access the belt. There are three things connected to the solenoid, one electric socket with cables, and two hoses. Remove these three and you can simply slide (towards LEFT) to remove it. In my case the earth cable is blocking it so I removed the earth cable as well. A solenoid is a device that converts electrical energy to mechanical energy, so please handle with care. The image below shows the location of the solenoid.
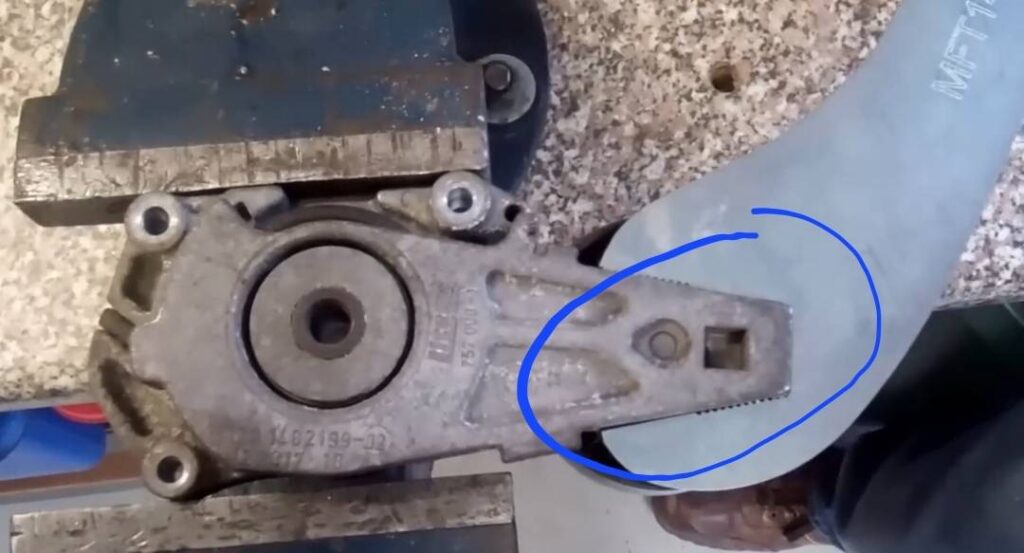
Step 4: Push the Belt Tensioner without Special Tools
In order the make the work easier, many people use a special-made belt tensioner tool for the Mini Cooper. It fits the belt tensioner perfectly just like the photo below.
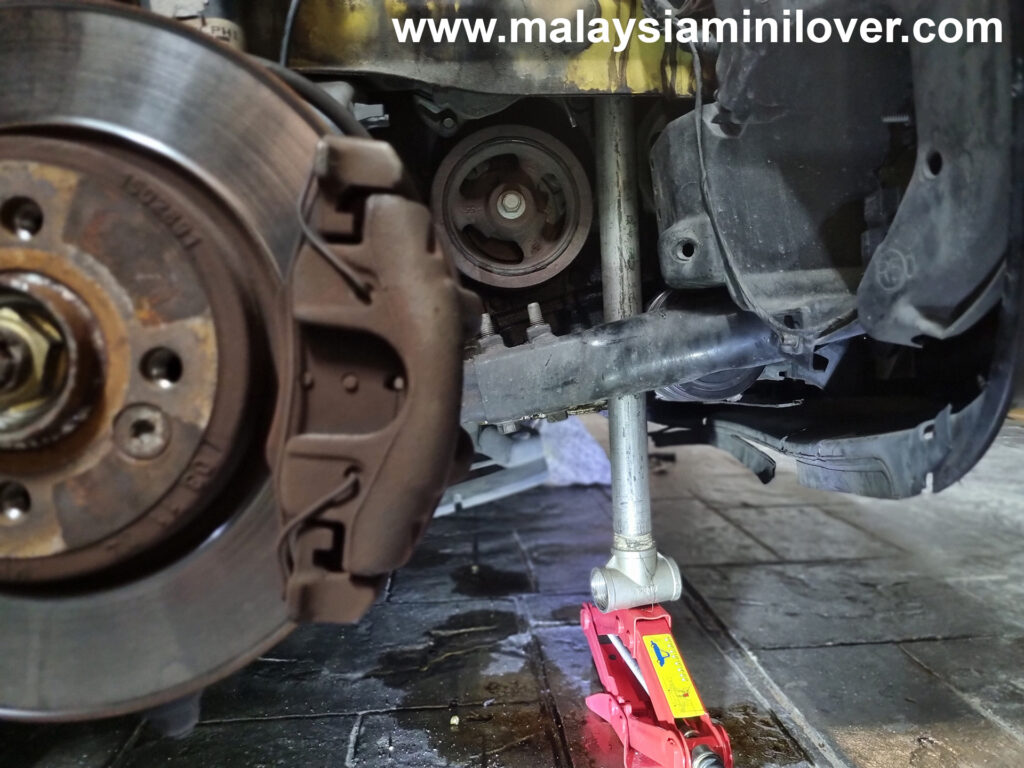
As I do not have the belt tensioner tool like the photo shown above. I simply use a steel pipe together with a hydraulic jack placed on the floor. All you have to do is to place the steel pipe below the belt tensioner and then jack it up. This is how I deal with it.
Some people use a Pry Bar instead of special tools that made for Mini Cooper. However, this method works perfectly for me. I found it is one of the easiest way to do it. All you have to do is remove the plastic dust cover underneath if it blocks your way. Once you push the belt tensioner high enough, slot a T27 allen key to hold the belt tensioner. Just like the image show below.

Step 5: Remove the Auxiliary Belt or Serpentine Belt or Fan Belt
Now you can remove the auxiliary belt easily as it has been loosen. In my case I don’t have to because it was broken when I was driving.
Step 6: Replace a new Auxiliary Belt
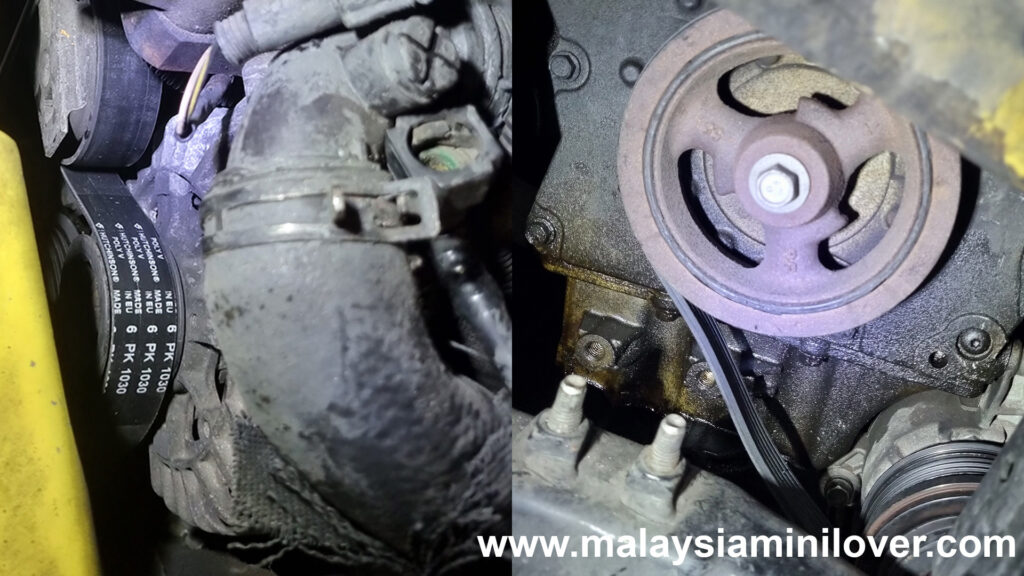
The original auxiliary belt (serpentine belt or fan belt) on a first generation Mini Cooper with Air Conditioning is 6PK 1033. It is 1033 mm long with 6 lines. I replaced mine with a HUTCHINSON brand 6PK 1030. I was told that +3mm or -3mm doesn’t matter on the car. I managed to fit the fan belt in and it works fine.

Now the auxiliary belt is fitted to the car, it should go through Alternator, Air Condition Compressor, power steering pump, and a pulley. It is not tight yet until you use the same method to put the belt tensioner back.
Now put back the solenoid, wheel well liner, the underneath plastic dust cover, and also the wheel. The job is done! It took me about 2 hours to get this job done.
When Should You Replace Your Auxiliary Belt or Serpentine Belt or Fan Belt?
The Mini Cooper Owner’s Manual suggest to replace your auxiliary belt every 50,000 to 100,000 miles or around five years. My car mileage was 73000 miles, the belt was 18 years and it broke. Therefore, please check your belt from time to time. Rubber deterioration can occur faster than you can imagine especially when the weather is always changing. That’s all for today’s article, share this post out if it helps you. Thank you for reading!
Read These for Mini Cooper DIY Repair:
Replacing Rear Shock Absorber Bushes on a Mini Cooper R50
If you love this article, please PLUS it!