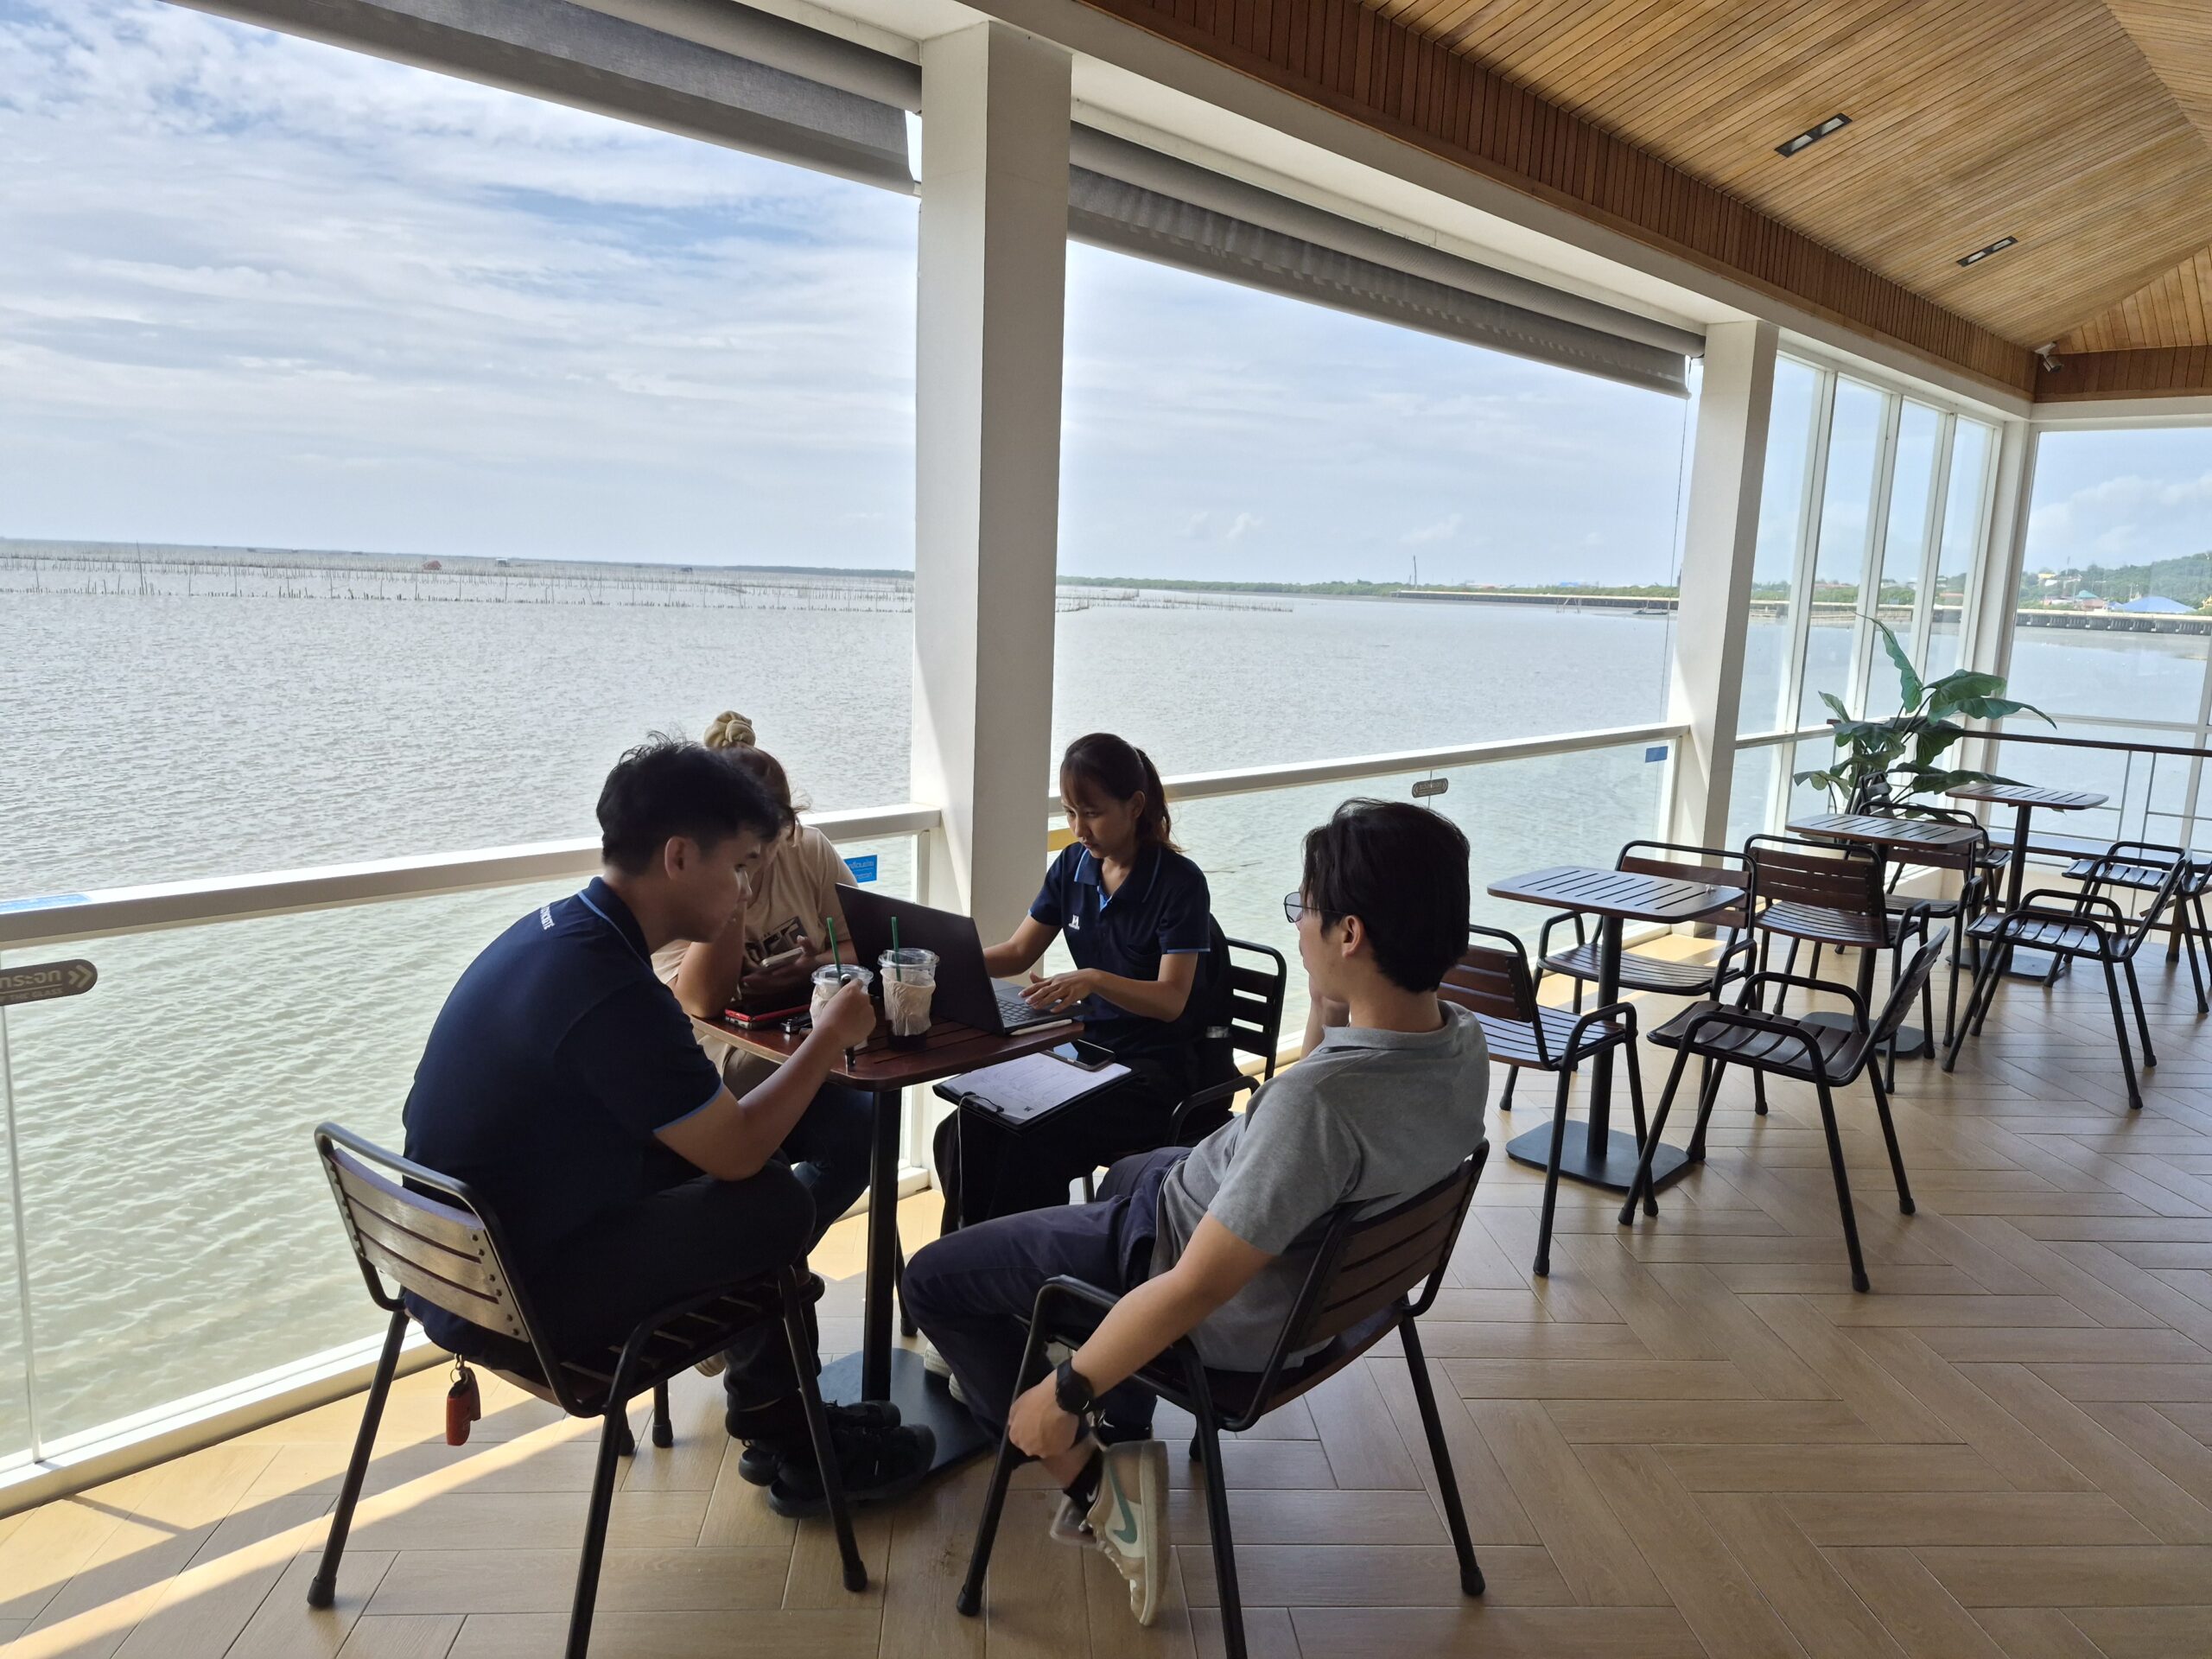
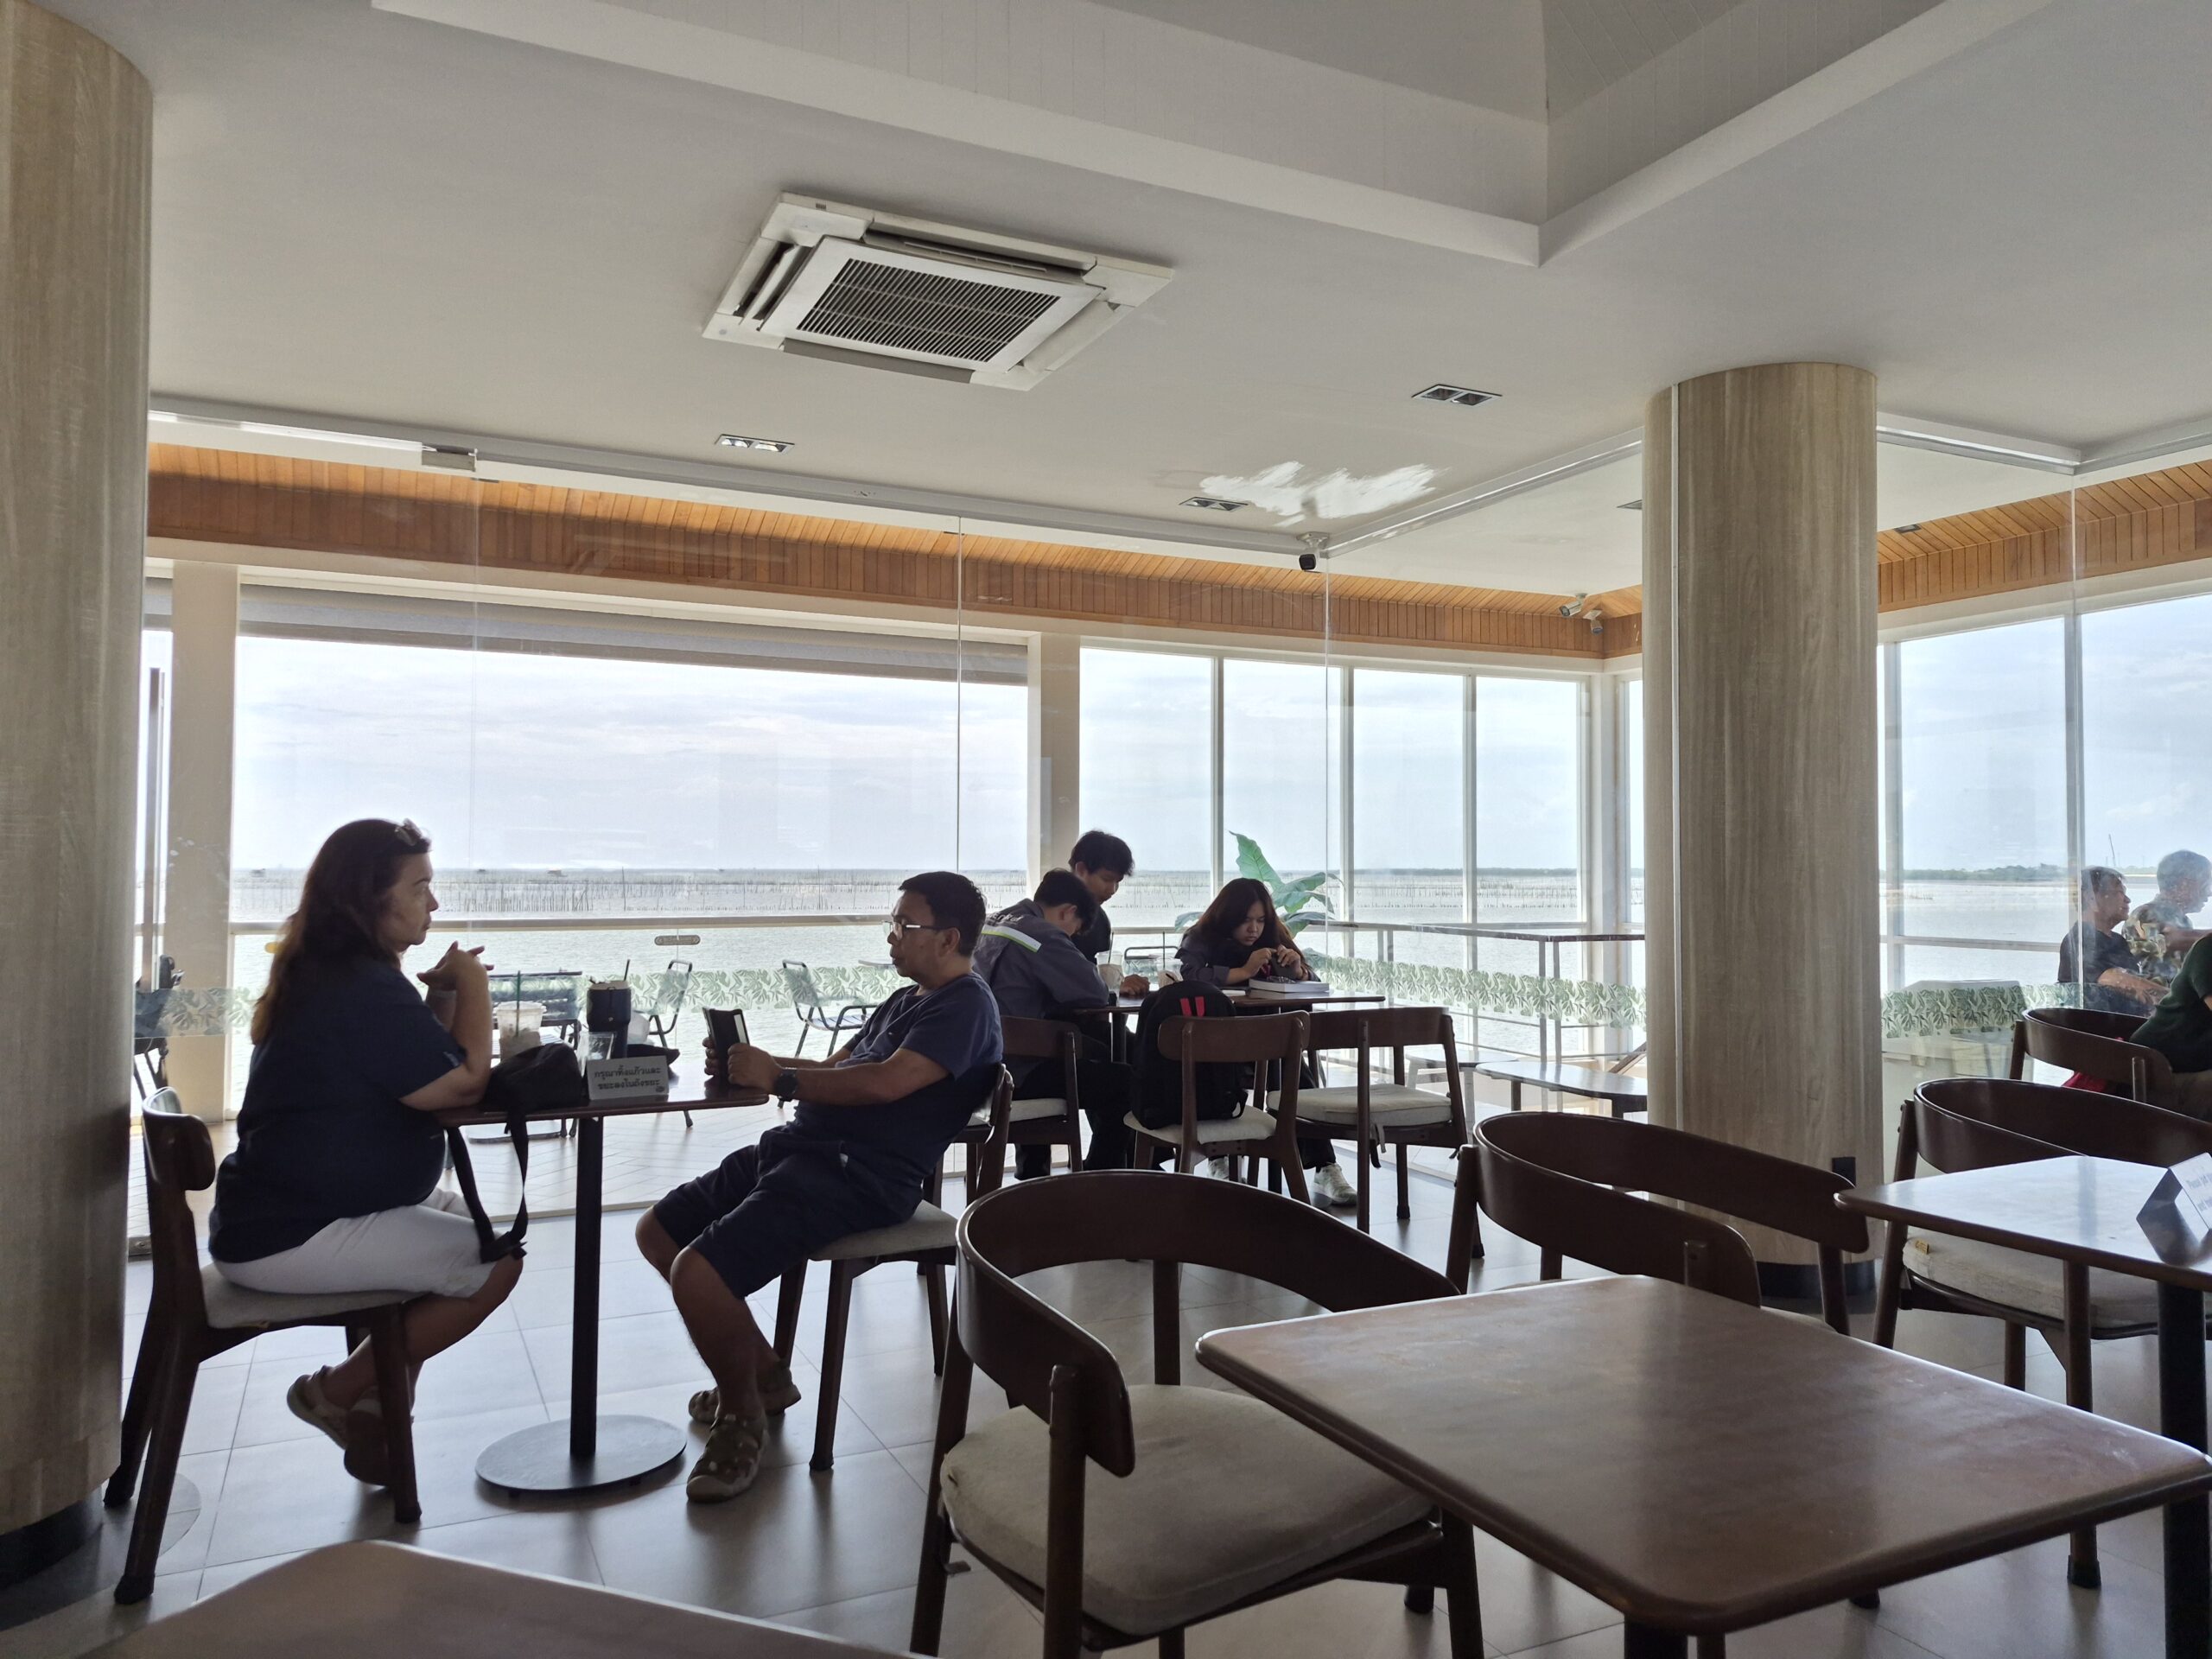
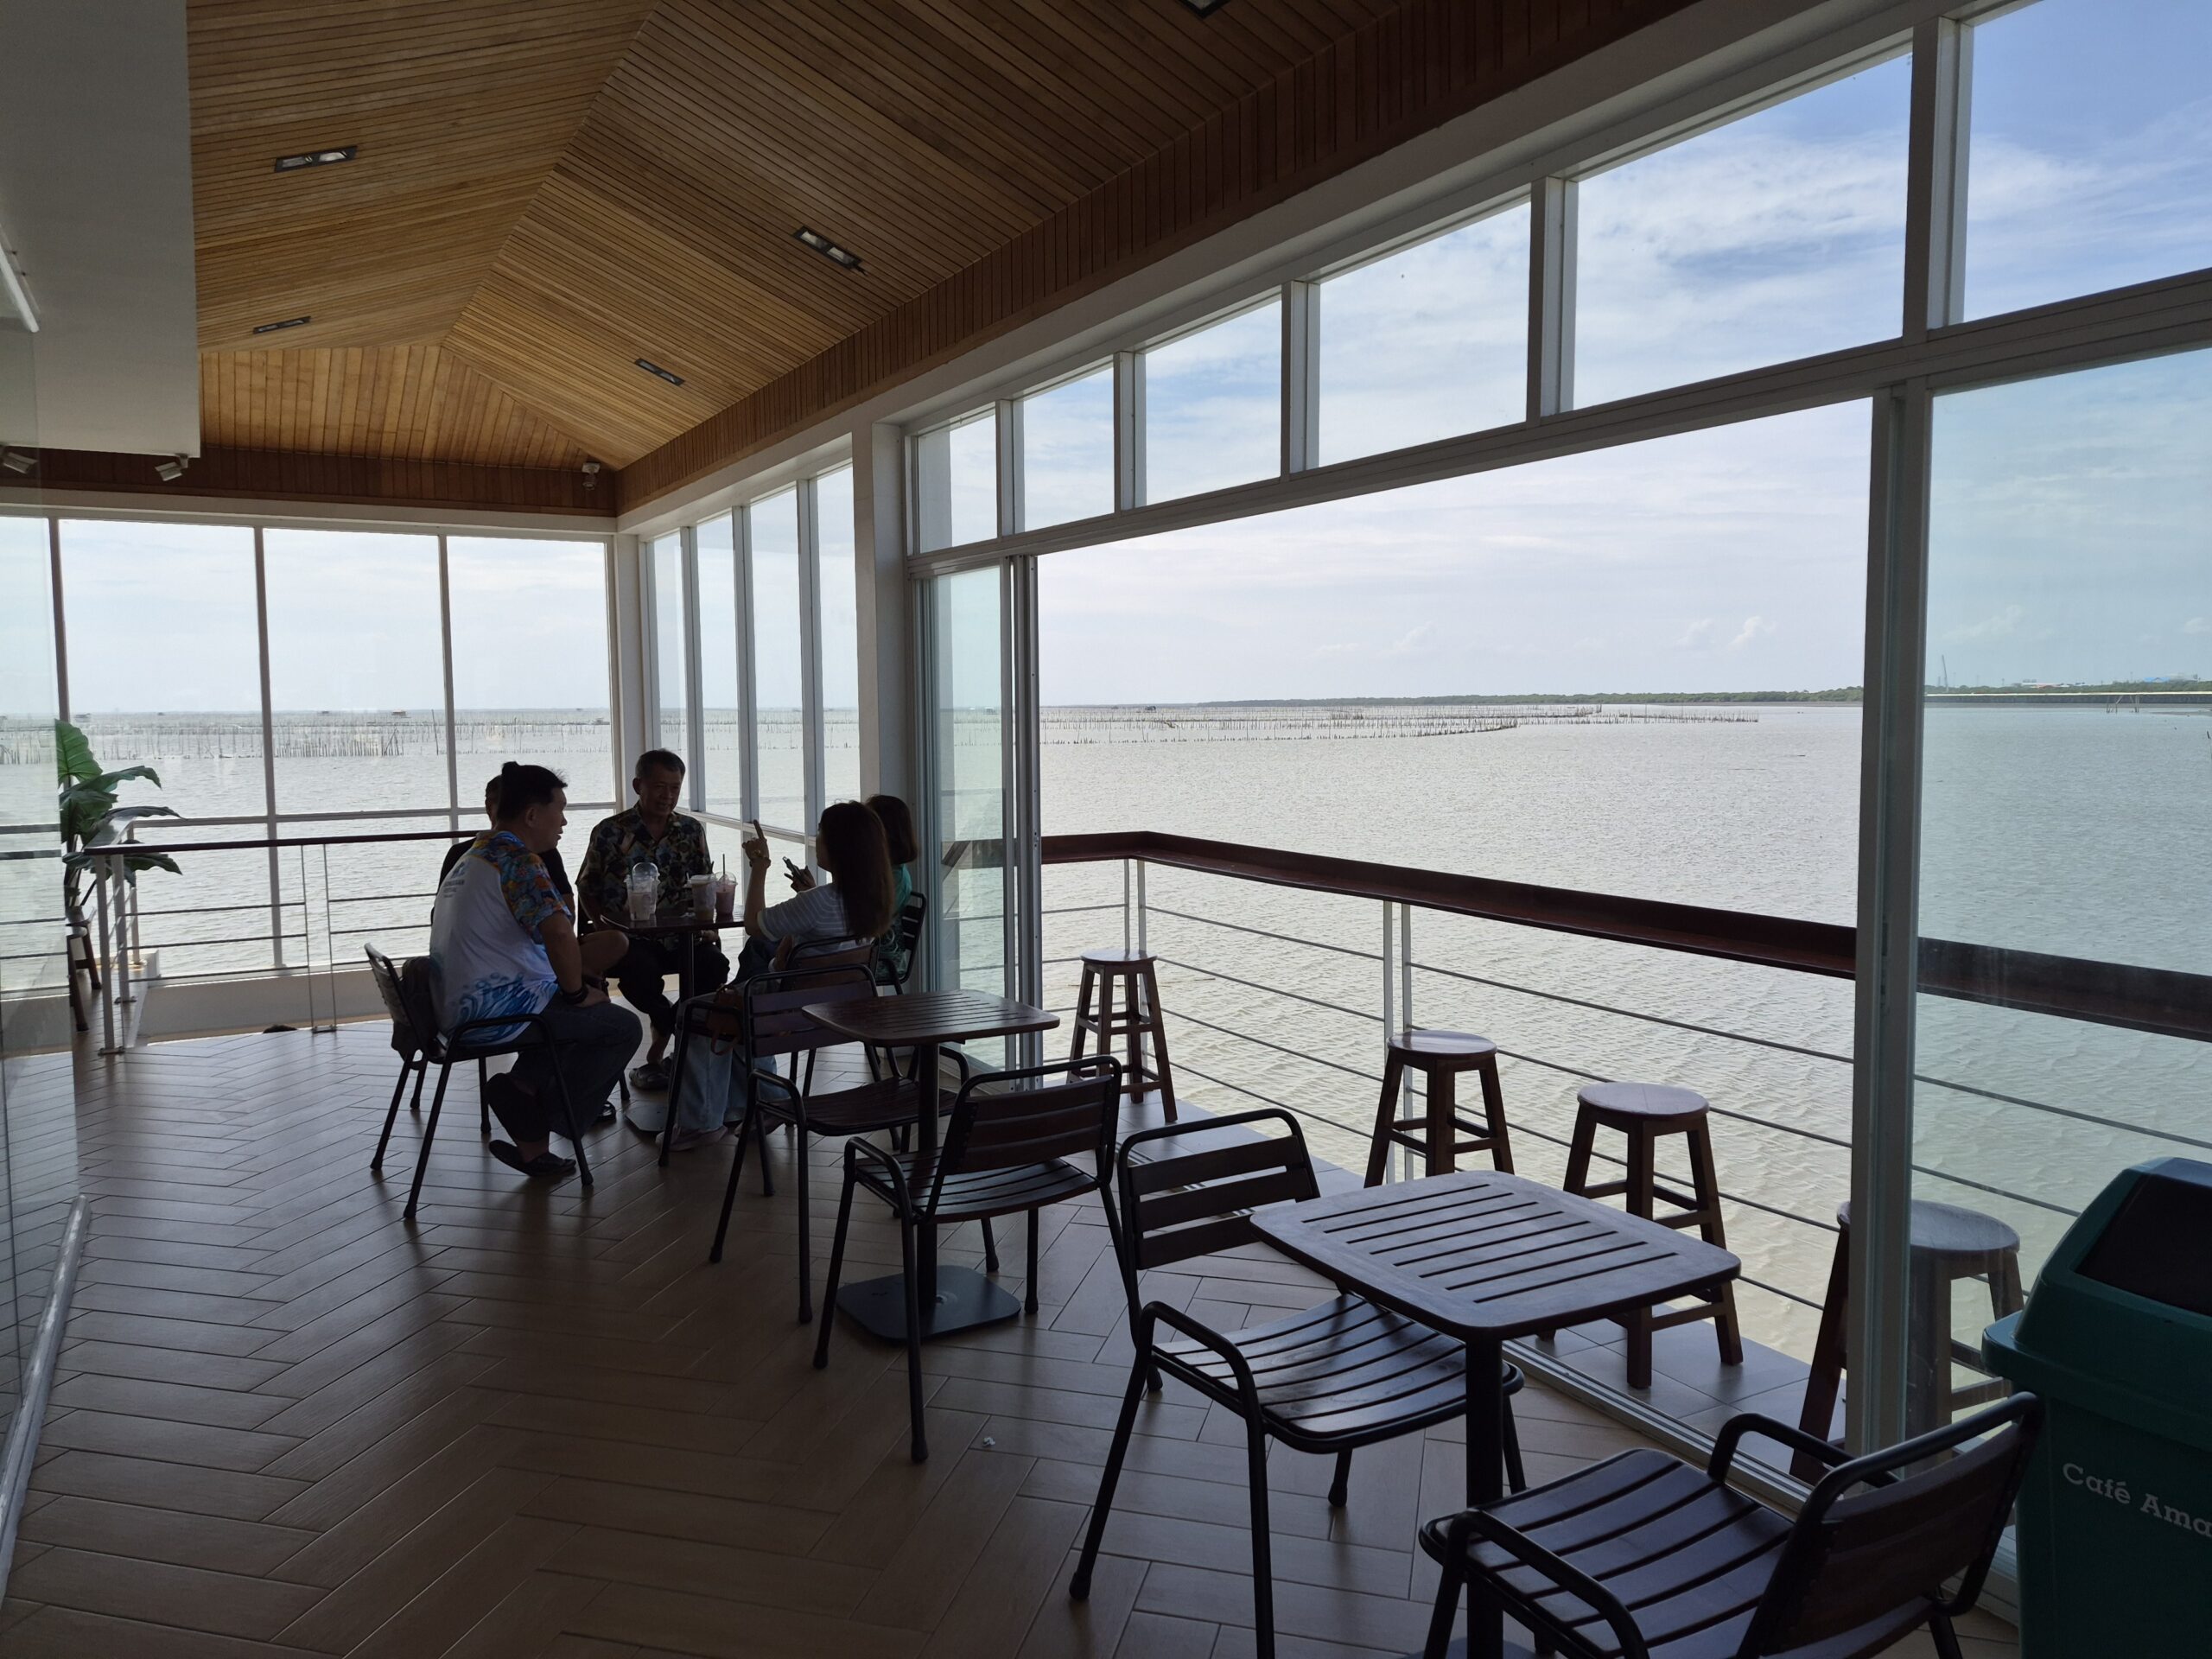
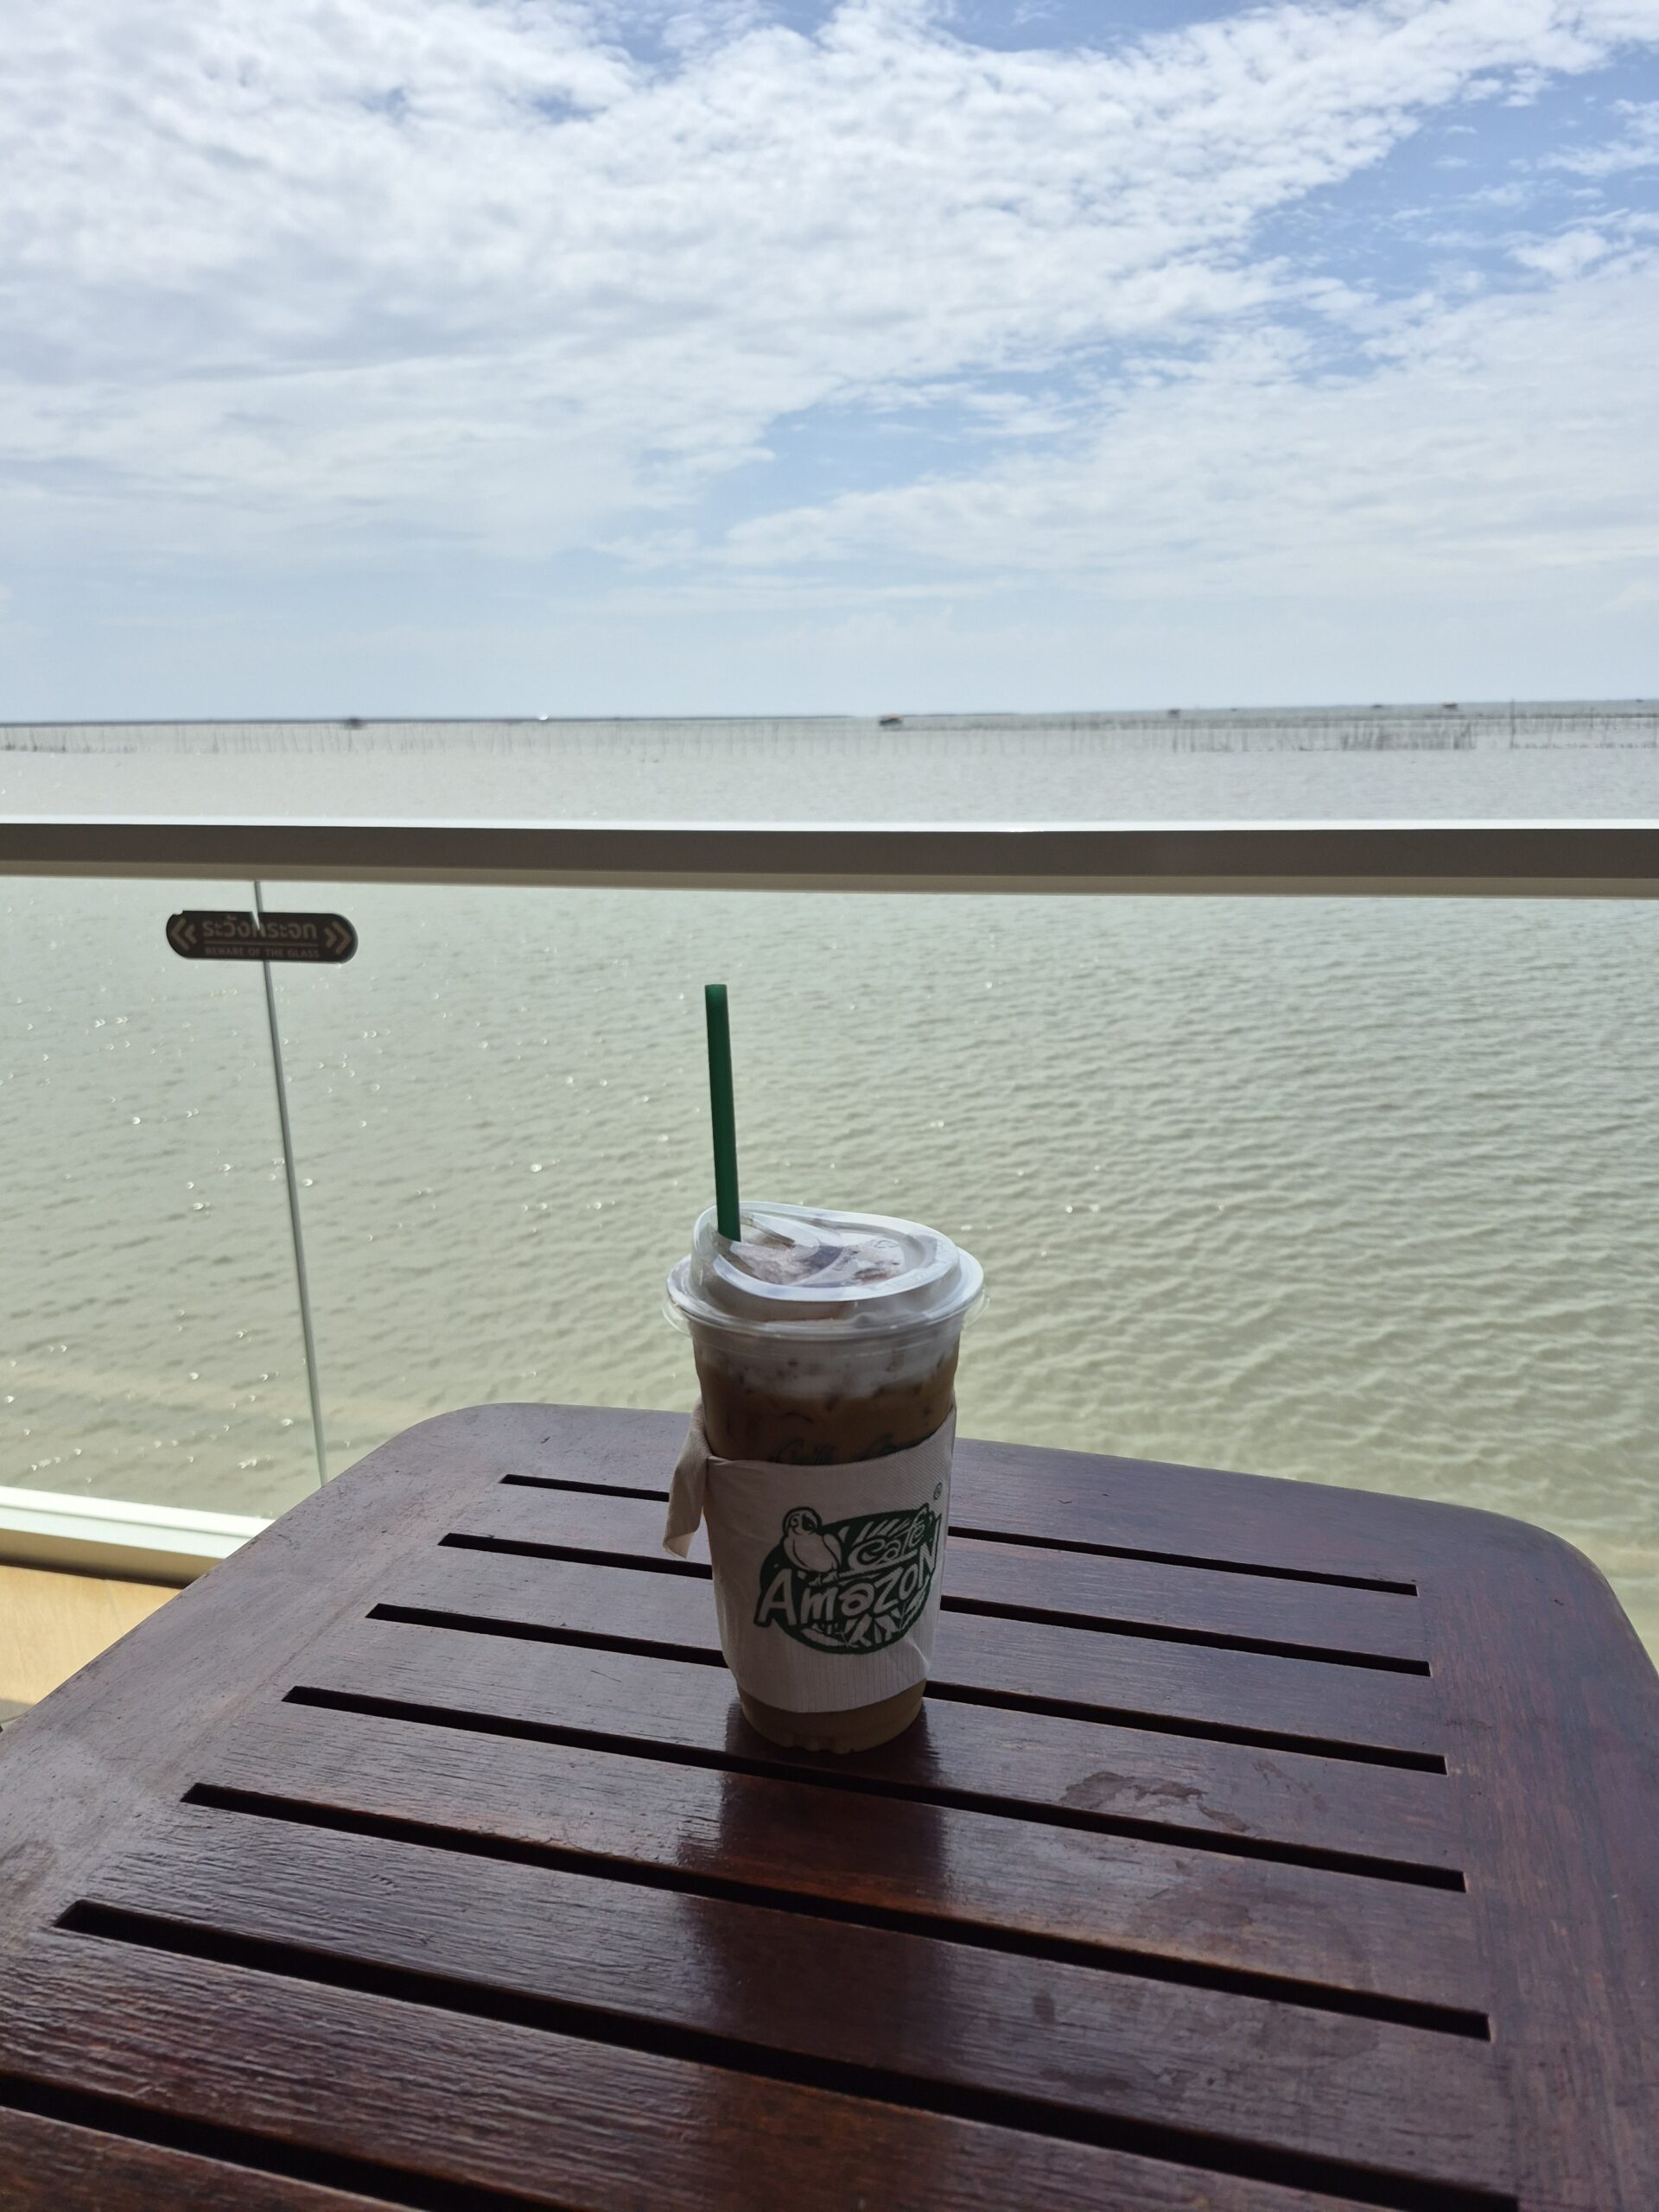
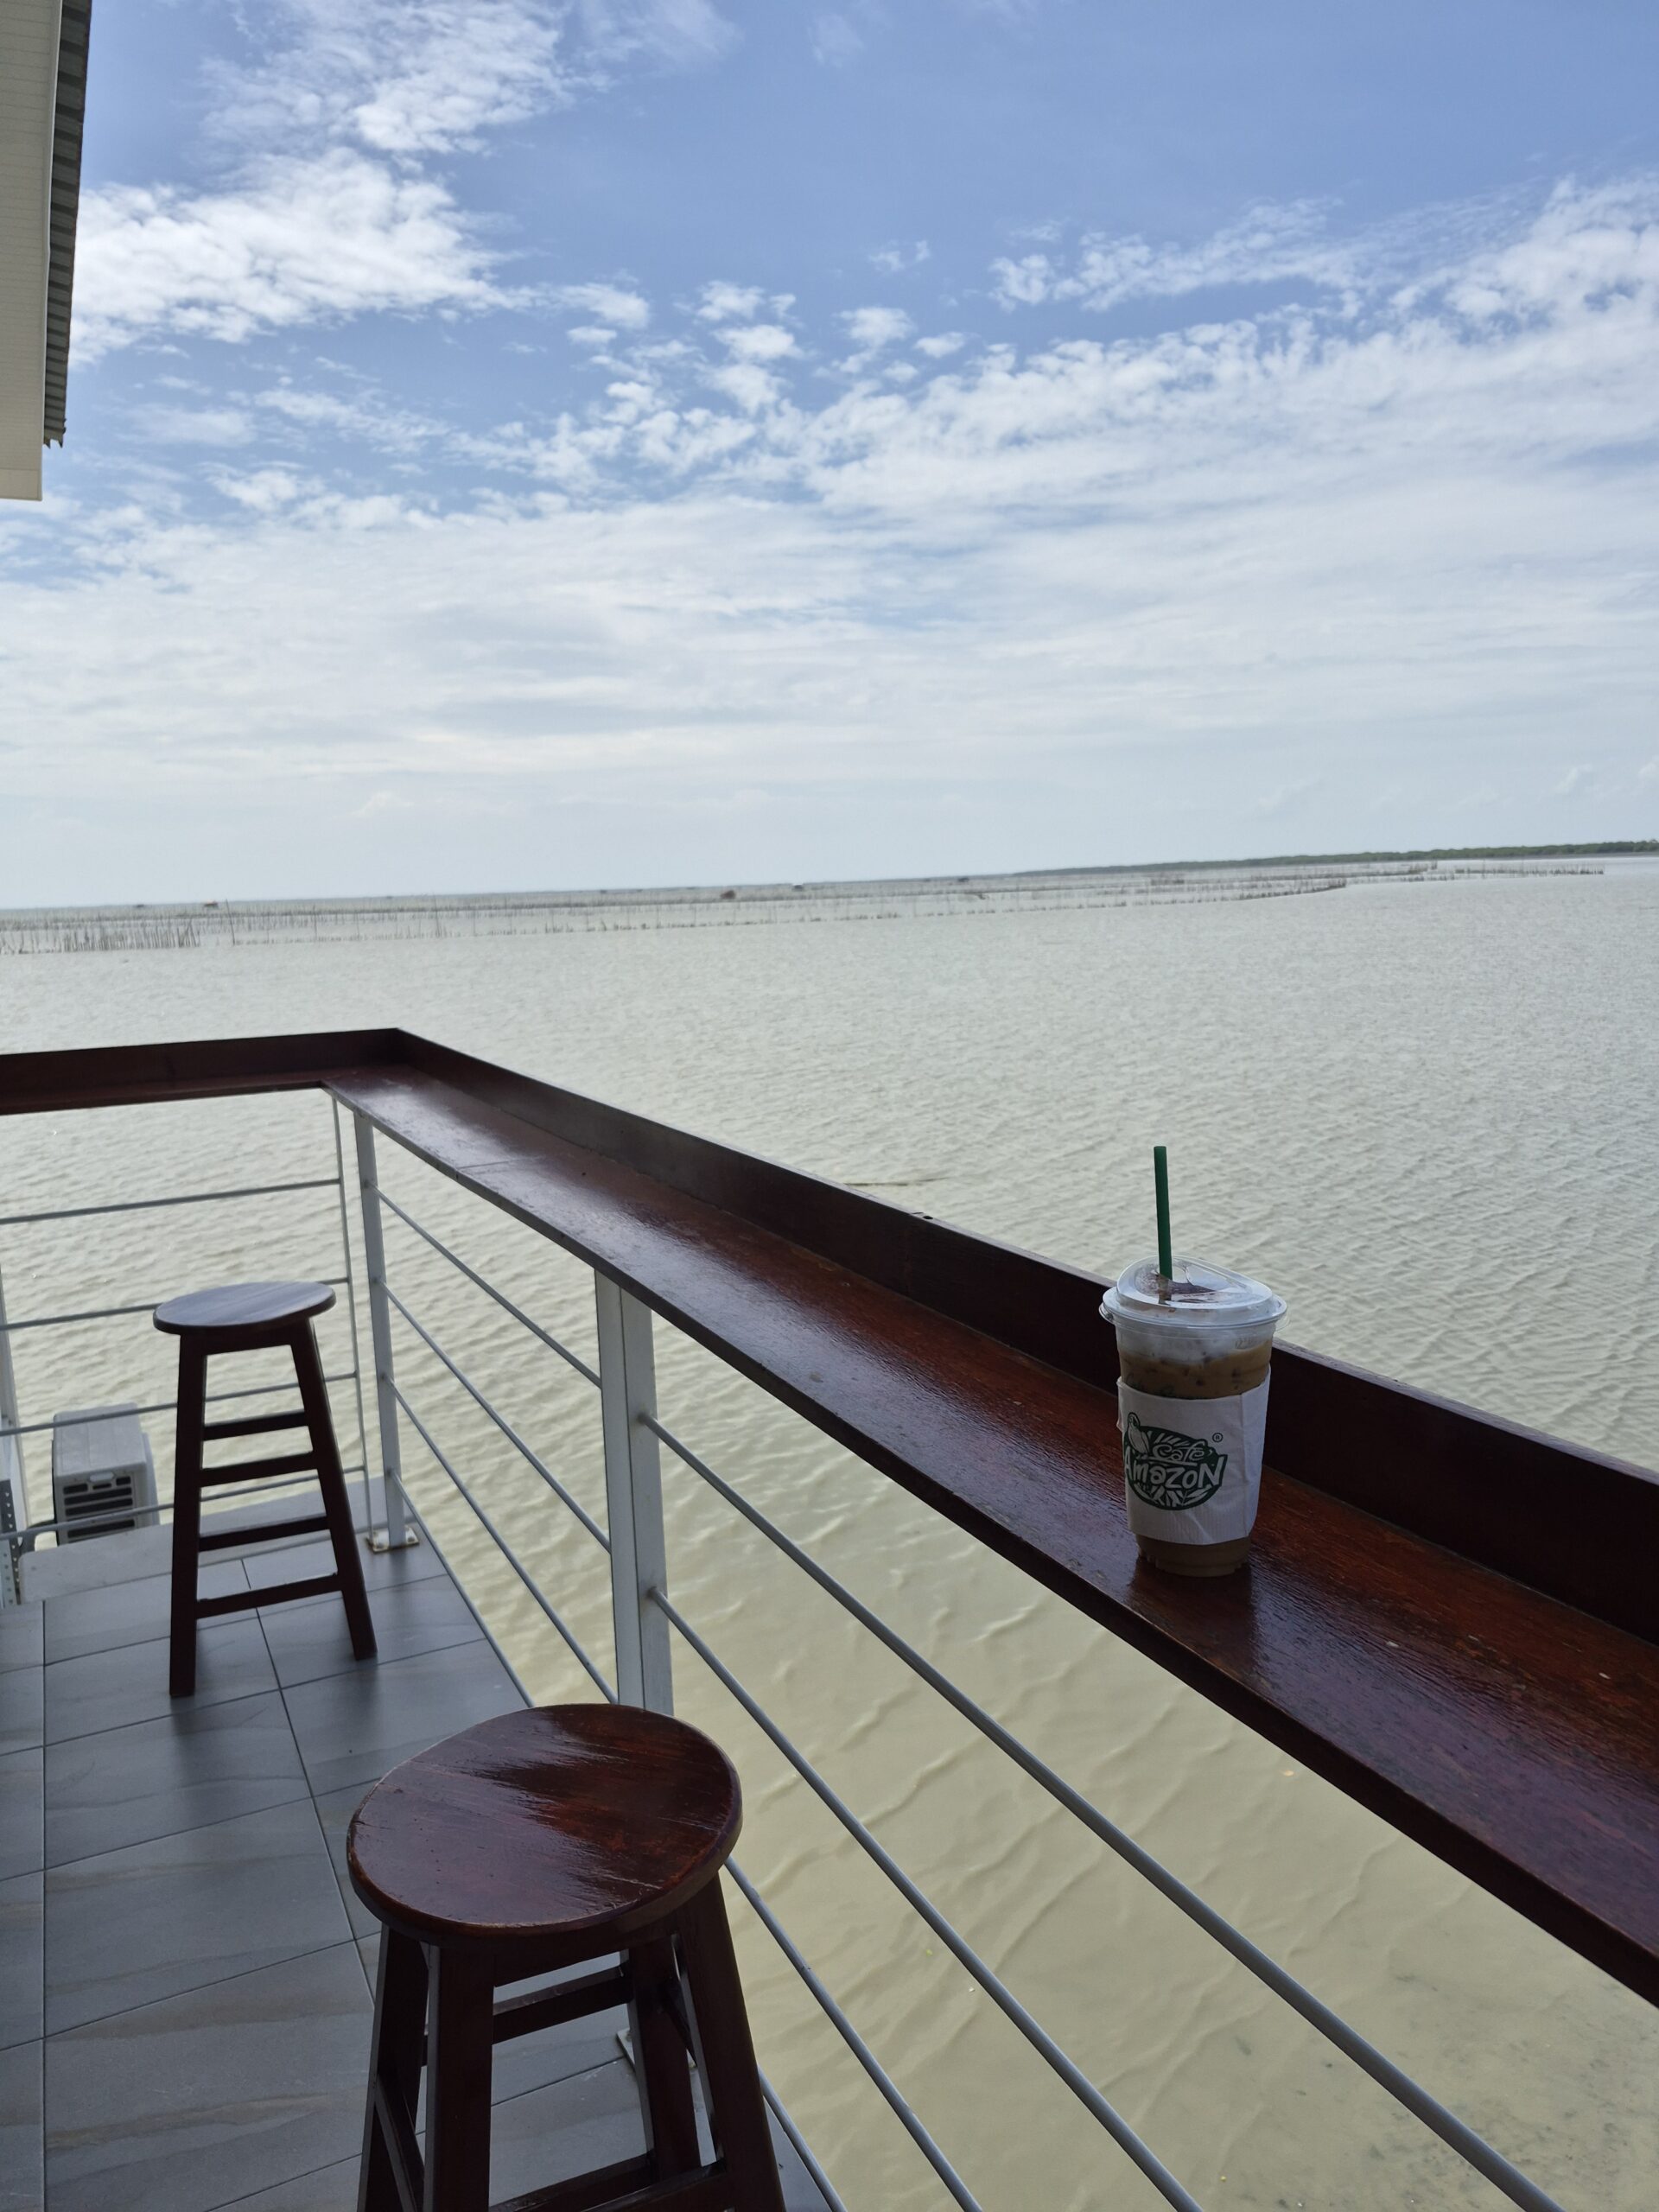
This is my favorite Café Amazon in Chonburi, and without a doubt, one of the most beautiful branches in Thailand.
Located on the Chonlamarkwithi Bridge in Chonburi Province, this unique café is surrounded by the sea, offering breathtaking panoramic ocean views in every direction.
What I love most about this place is its peaceful atmosphere.
The café features floor-to-ceiling glass windows, so even while sitting comfortably in the air-conditioned indoor area, you can enjoy uninterrupted views of the ocean. Step outside onto the terrace, feel the sea breeze, and watch the sunset—it’s the perfect place to slow down and unwind.
Whenever I’m in Chonburi, I often spend an entire afternoon here with a cup of coffee, simply enjoying the view.
If you’re driving from Bangkok to Pattaya, it’s only about an hour’s drive and makes an excellent stop for a coffee break before continuing your journey.
Sometimes, the best part of traveling isn’t rushing from one attraction to another—it’s finding a place where you can sit back, relax, and do absolutely nothing.
If you enjoy ocean views, peaceful cafés, and quiet moments, Café Amazon Chonlamarkwithi is definitely worth adding to your Thailand travel list. 🇹🇭☕
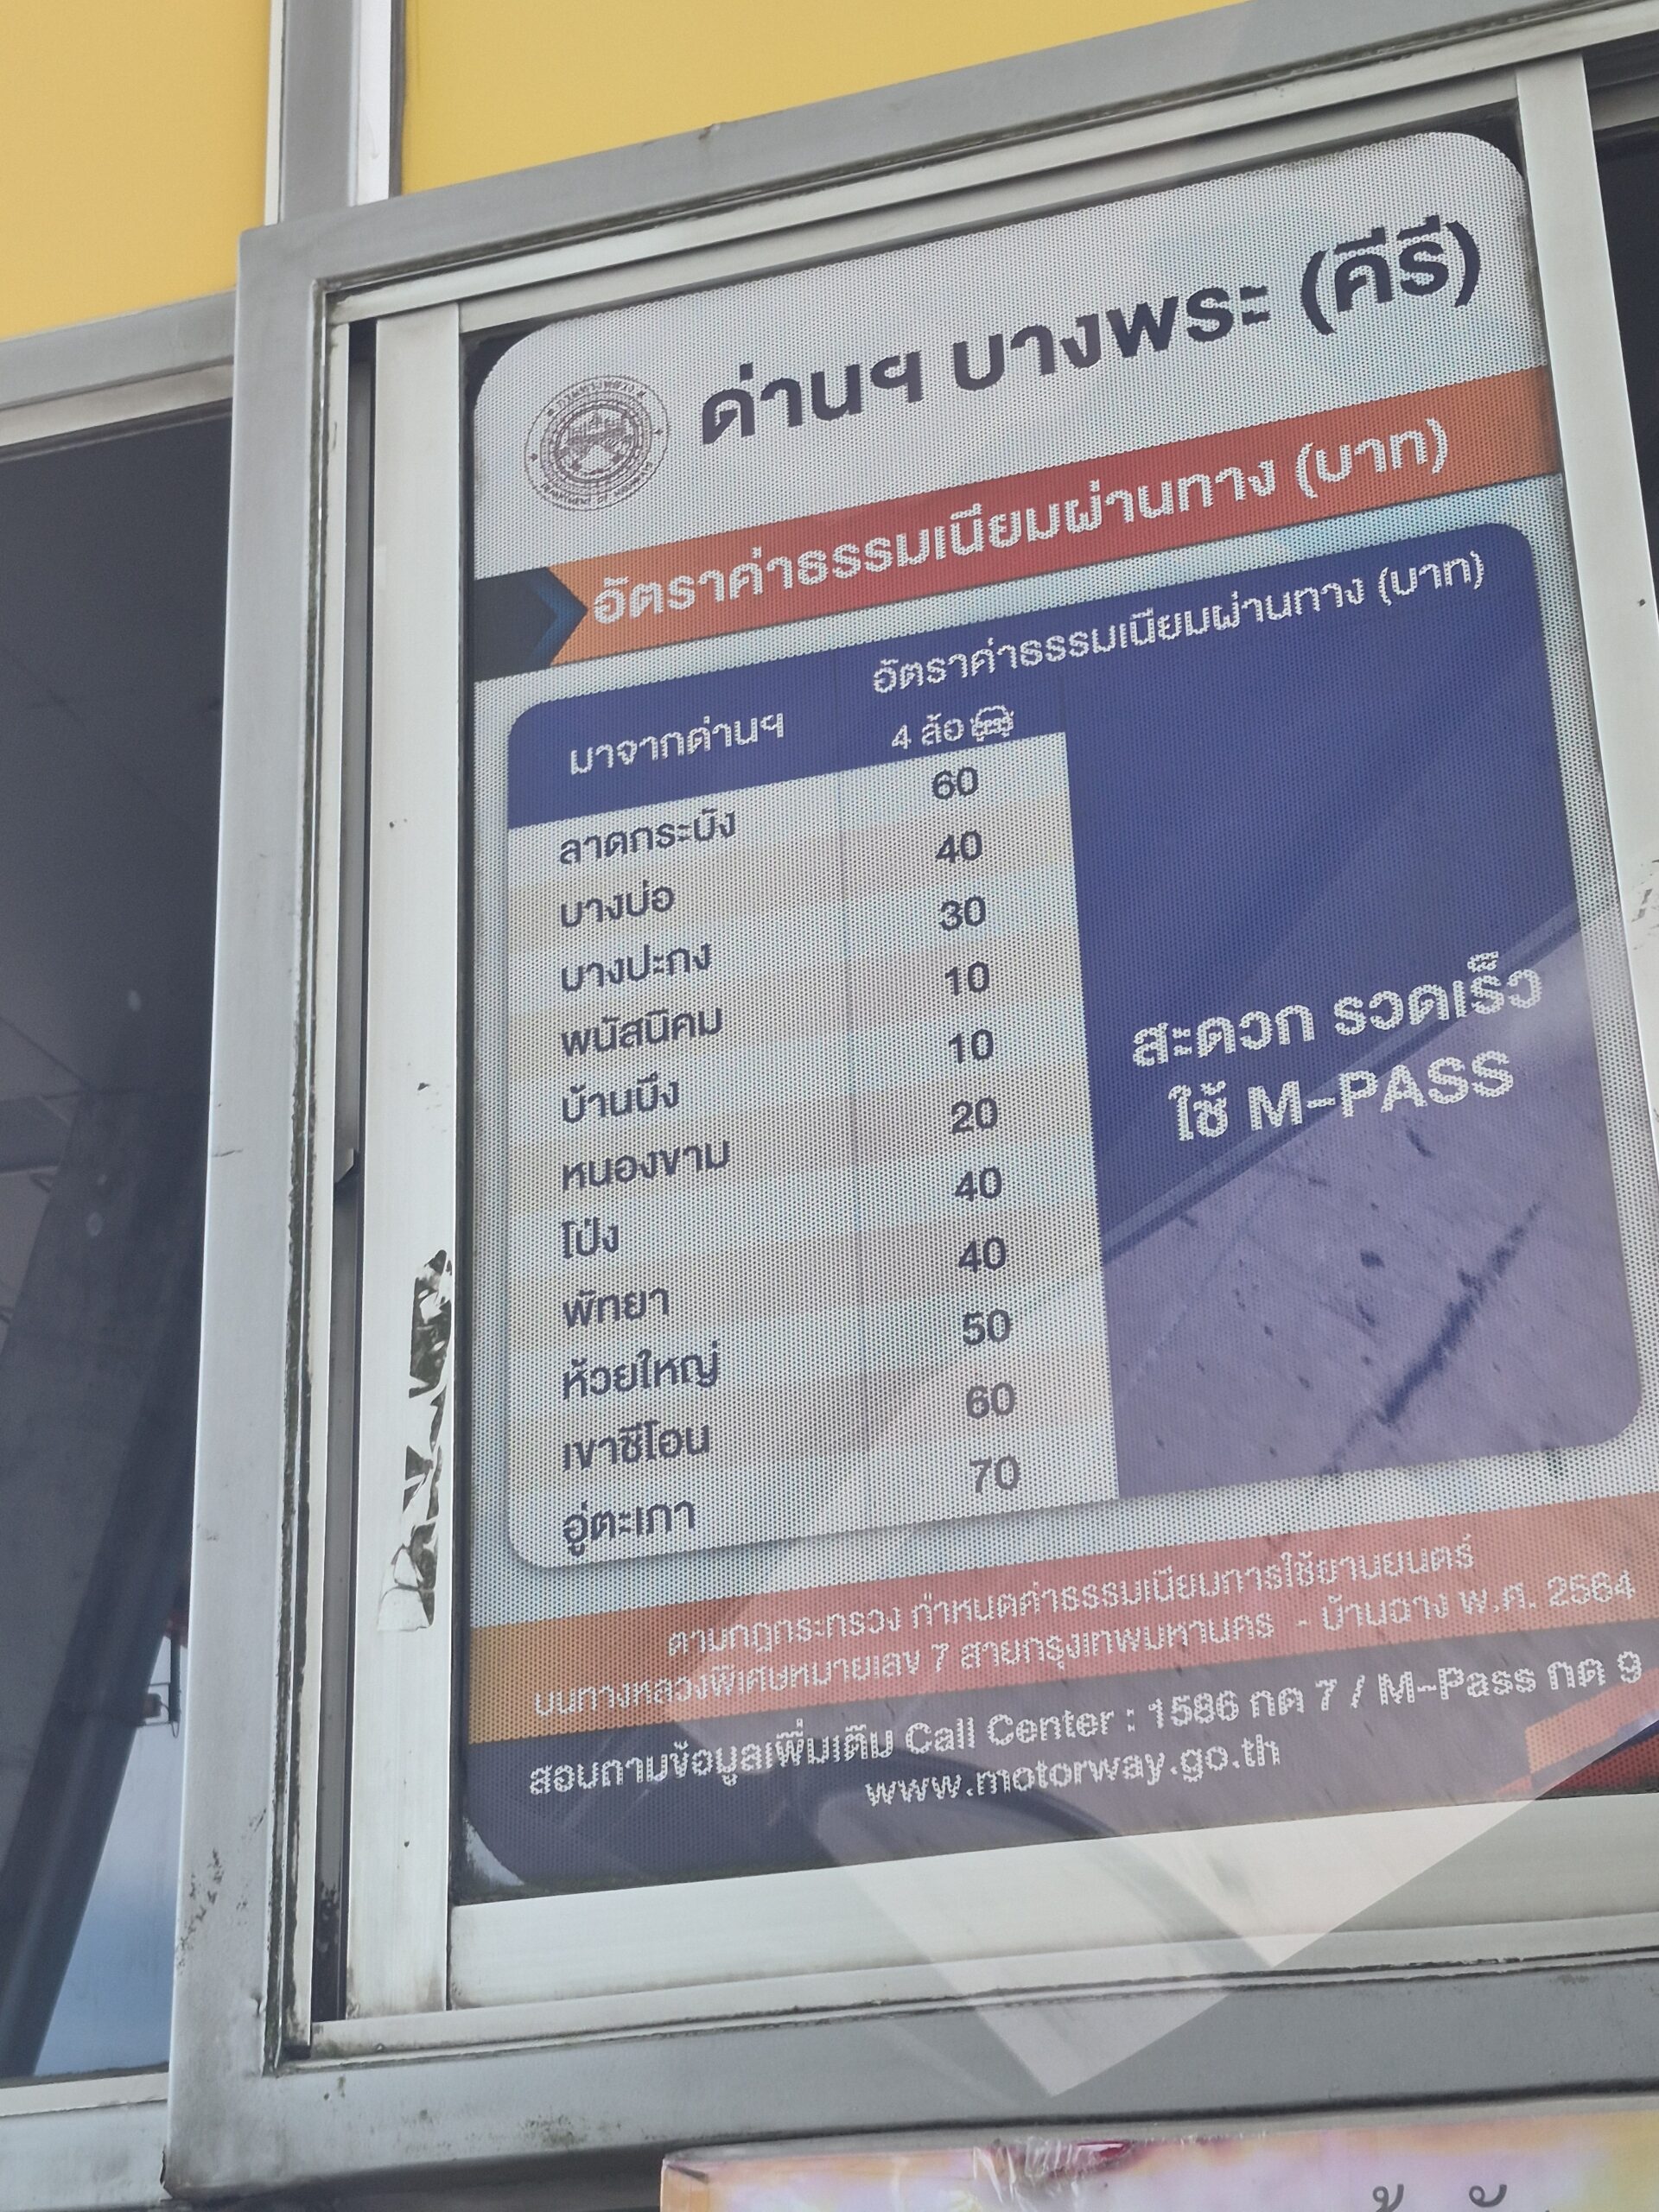
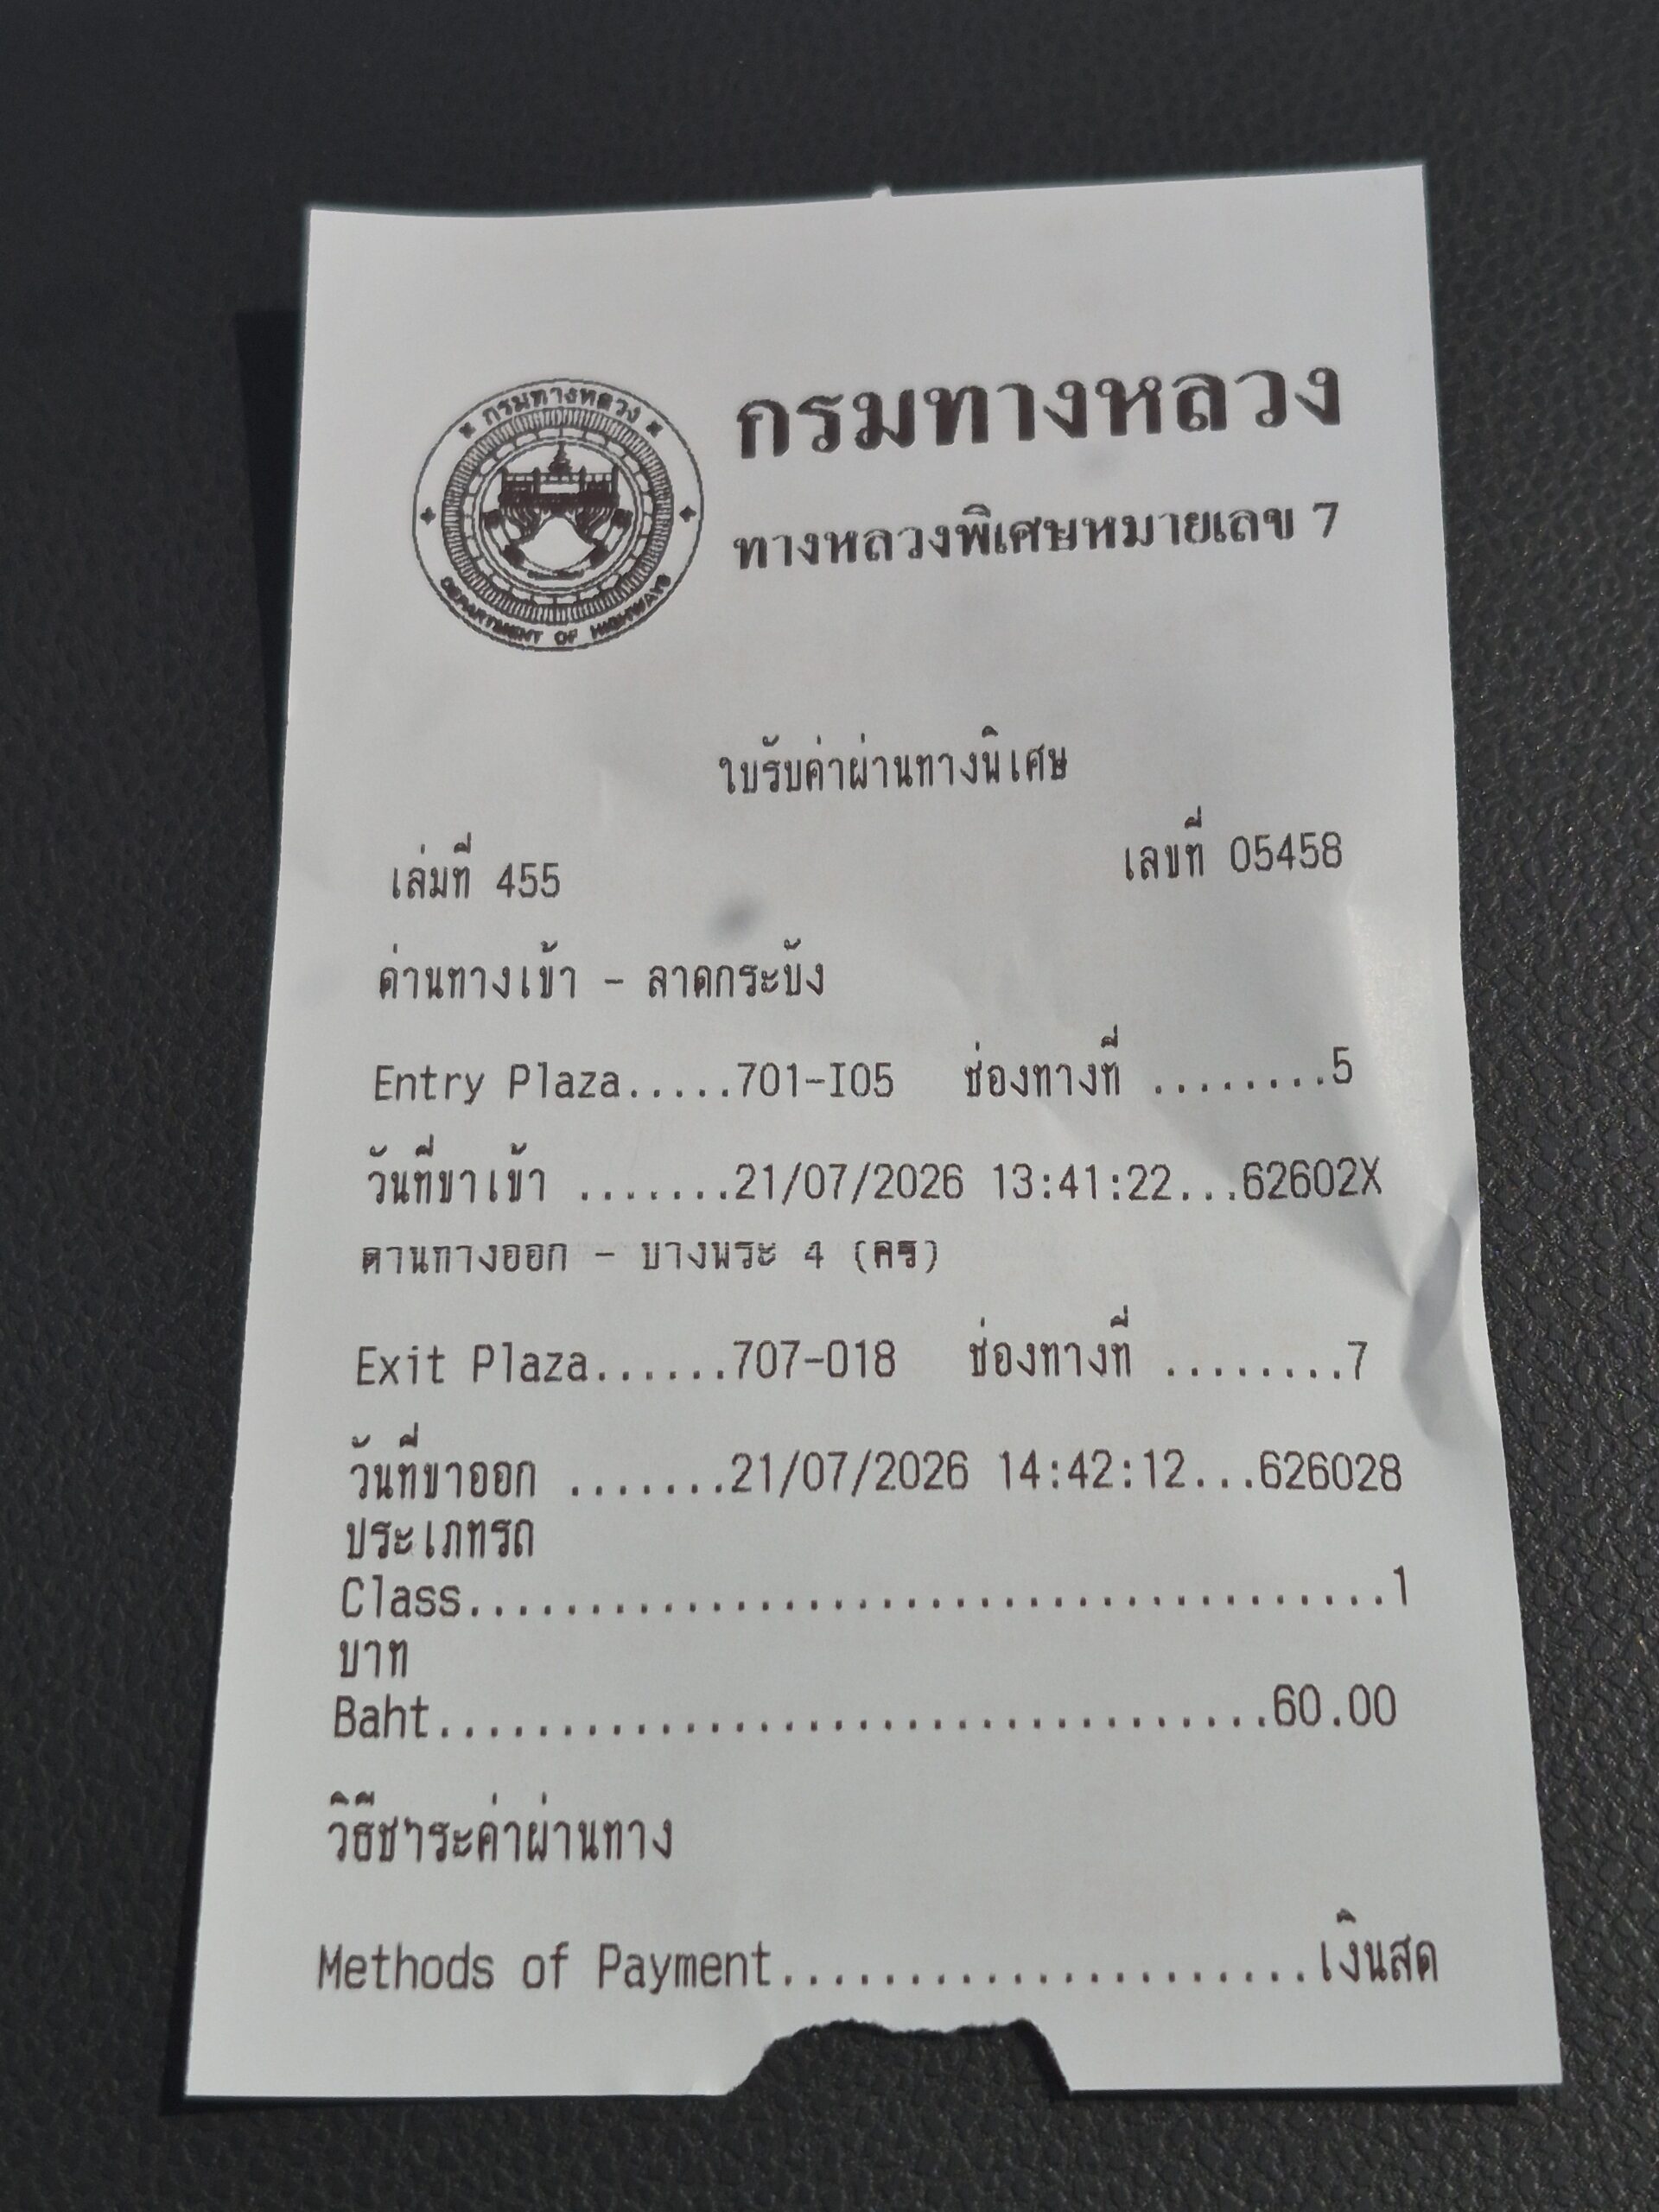
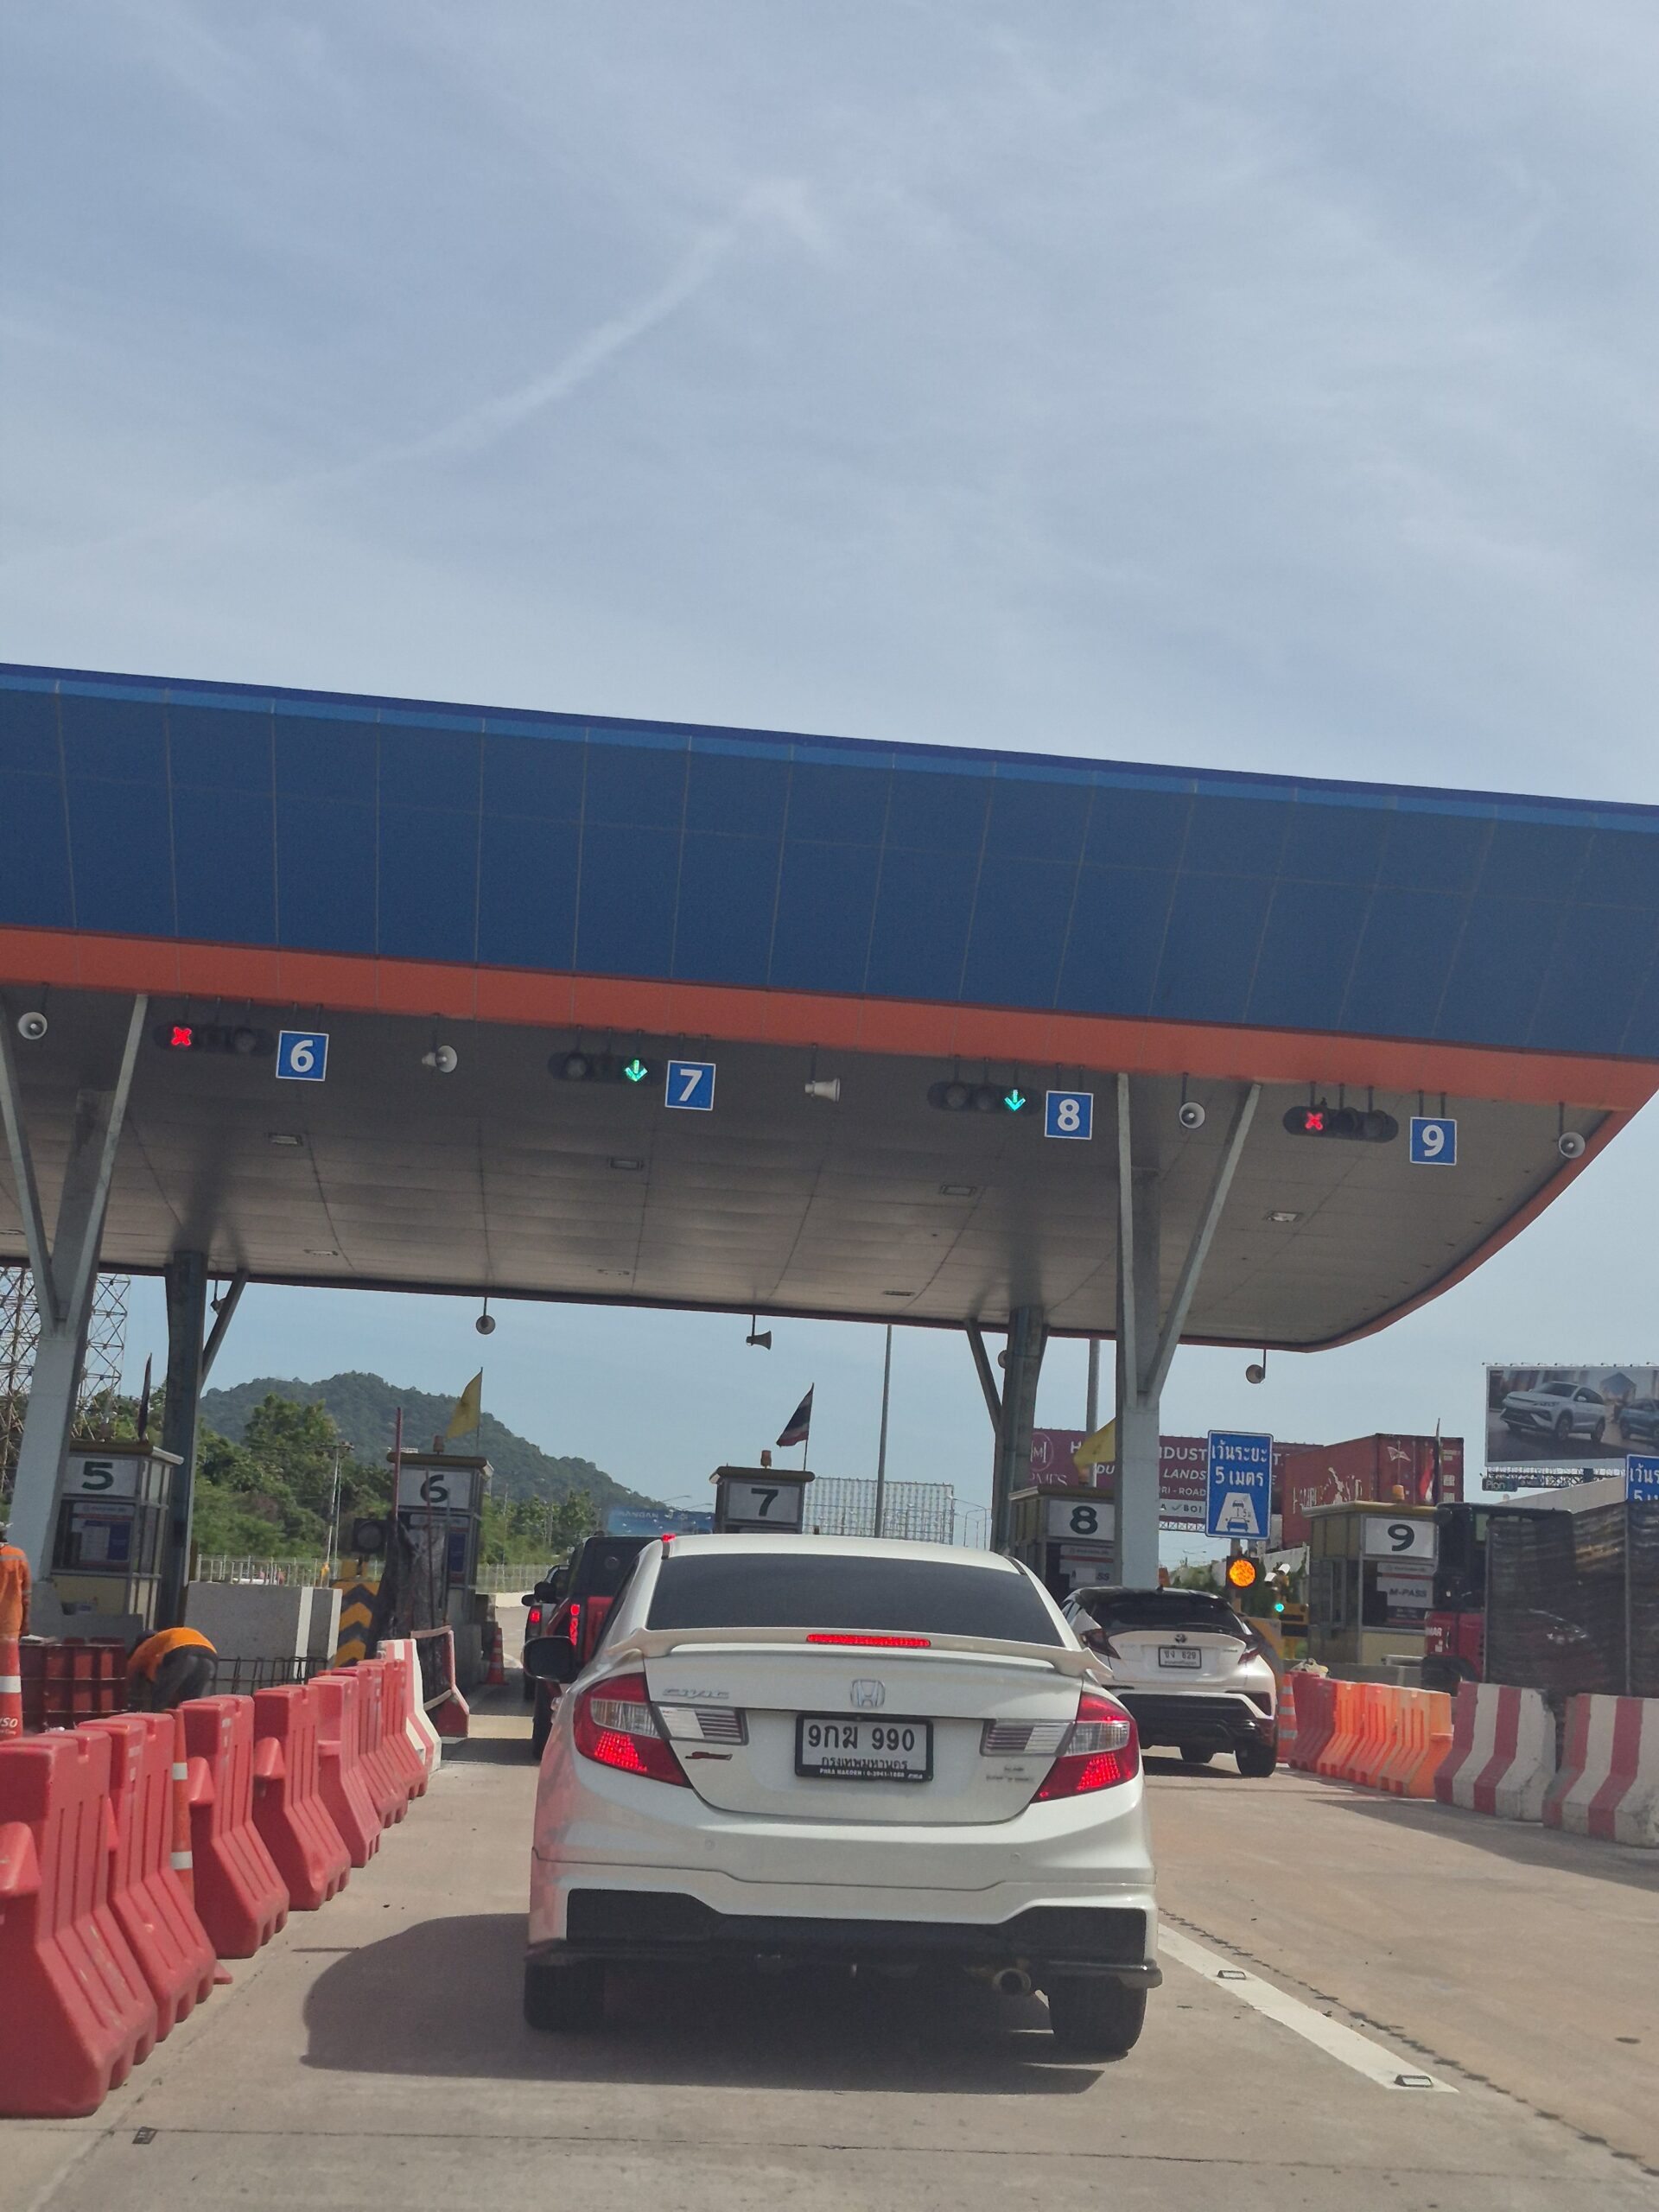
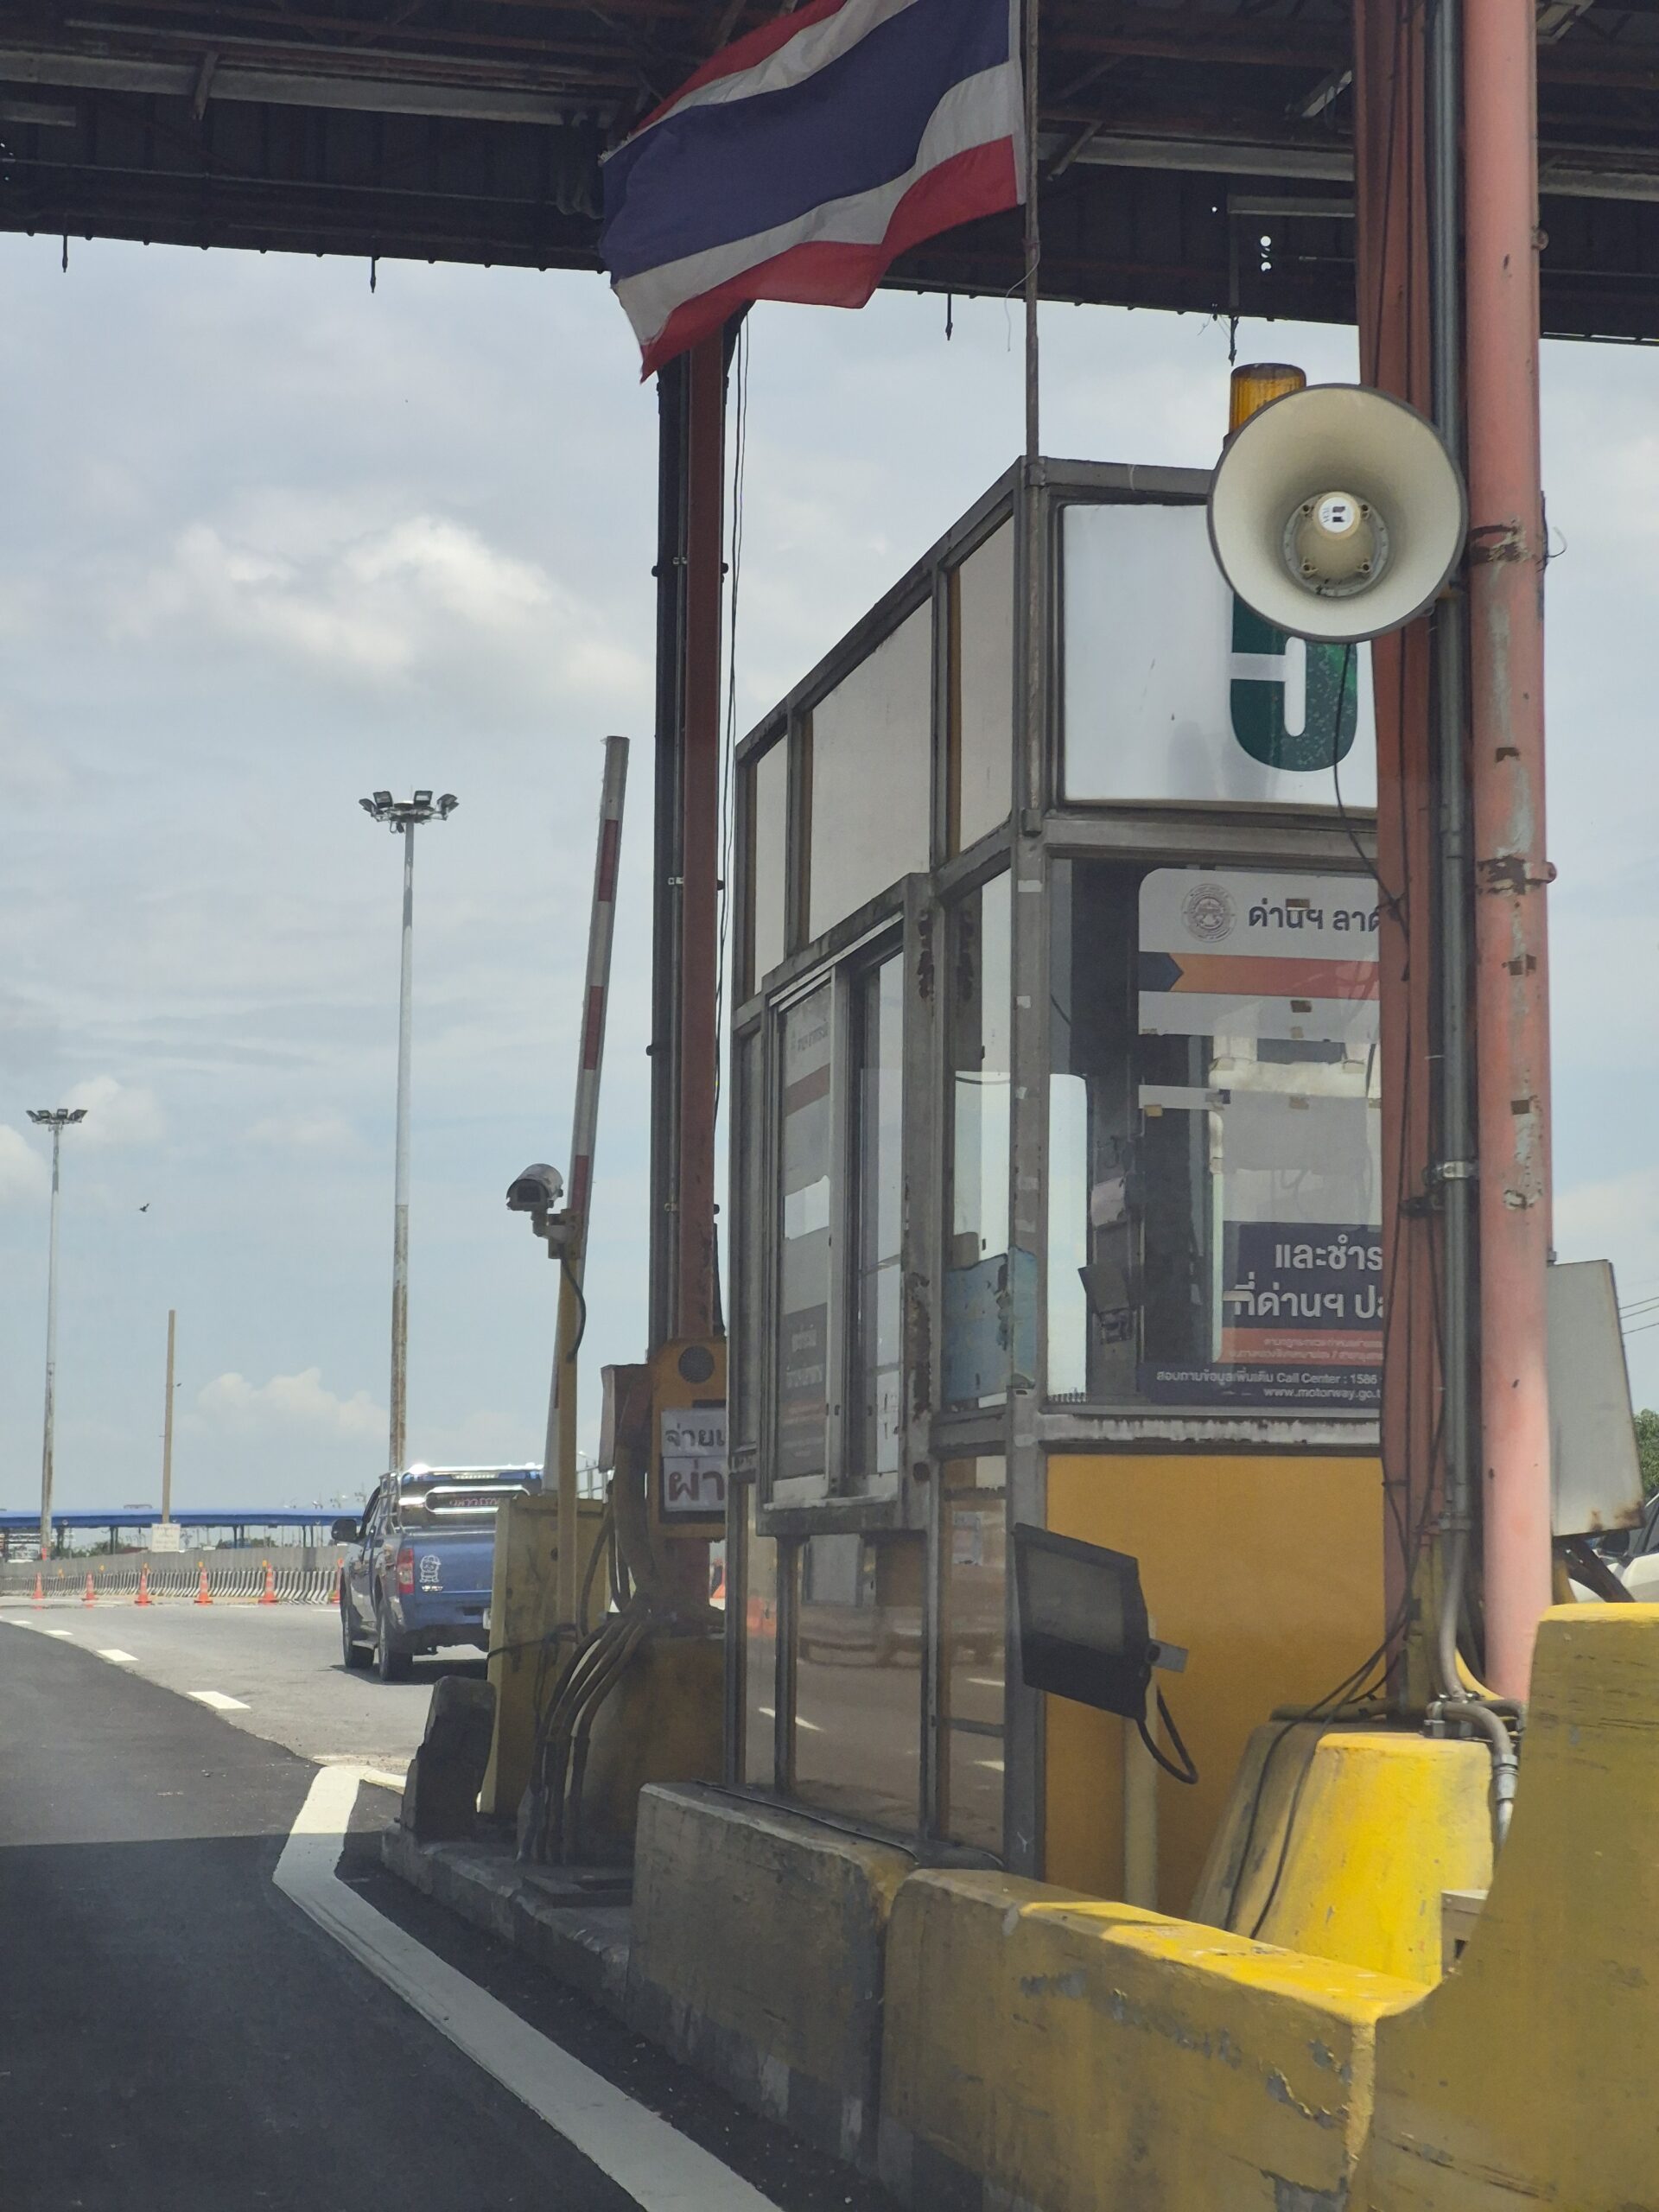
“If I rent a car or drive in Thailand, how do I pay for toll roads?”
Don’t worry—it’s quite simple. Thailand currently offers four main toll payment methods.
1. Cash
The easiest option for most tourists.
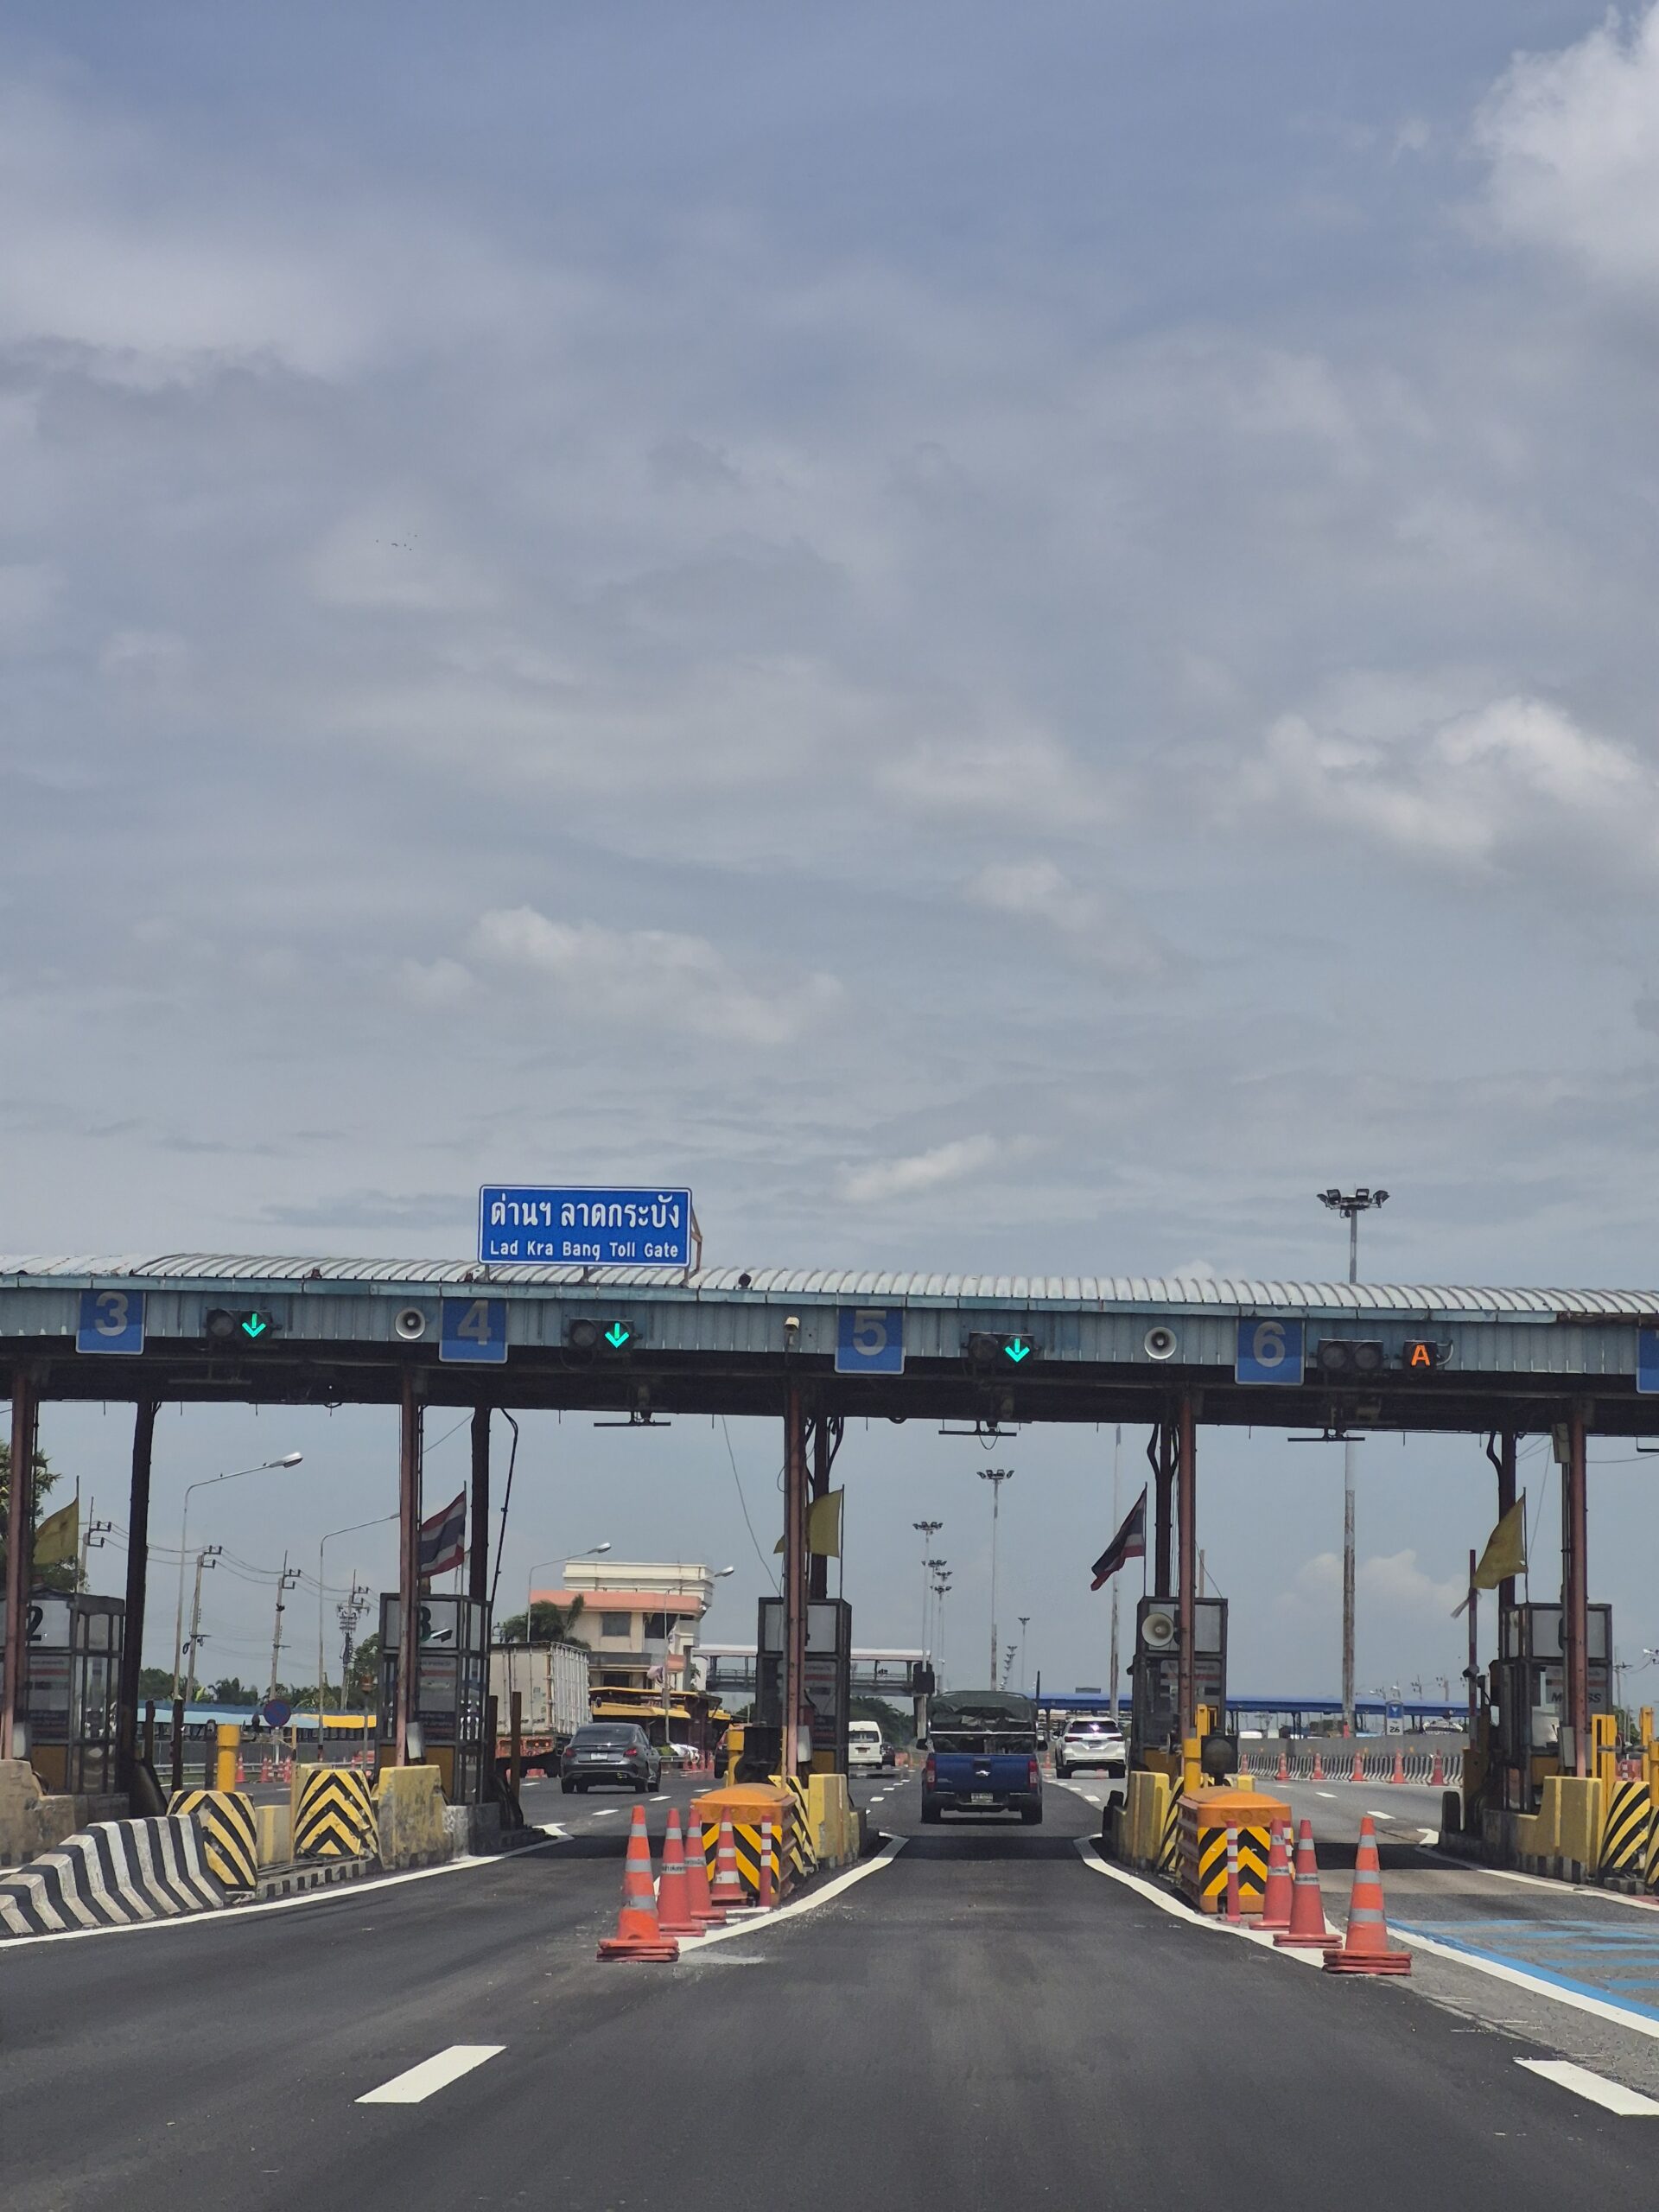
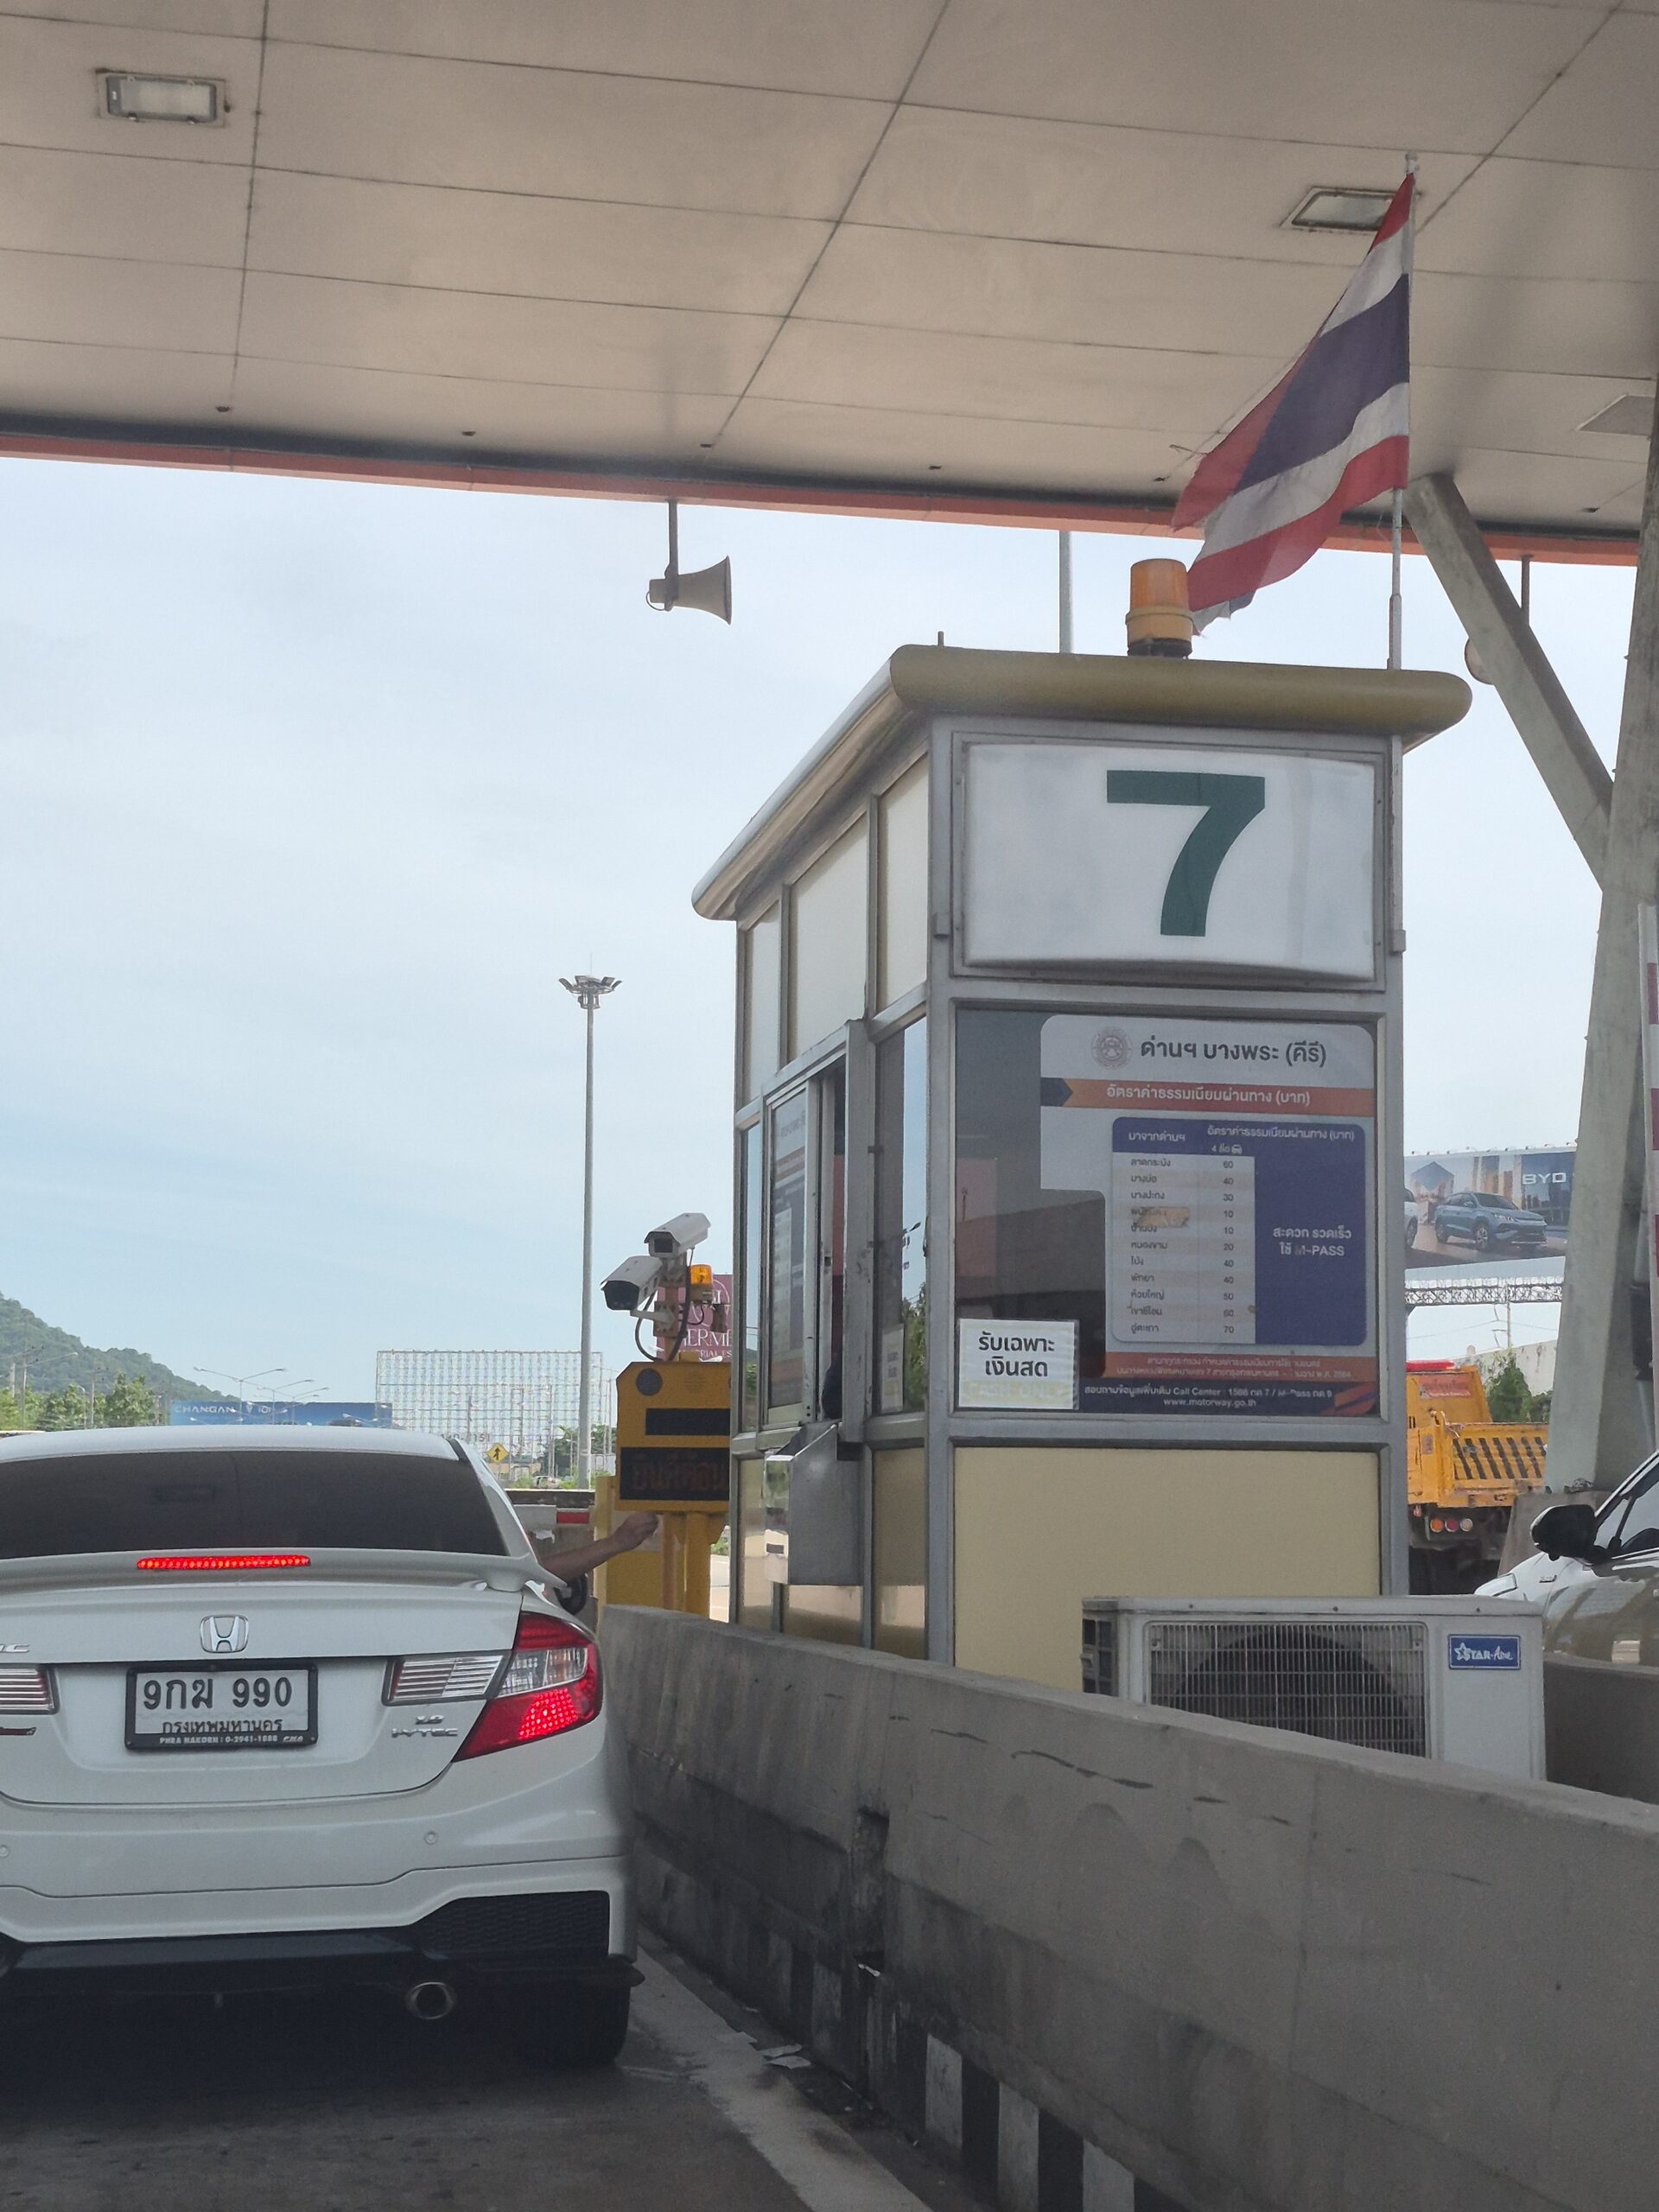
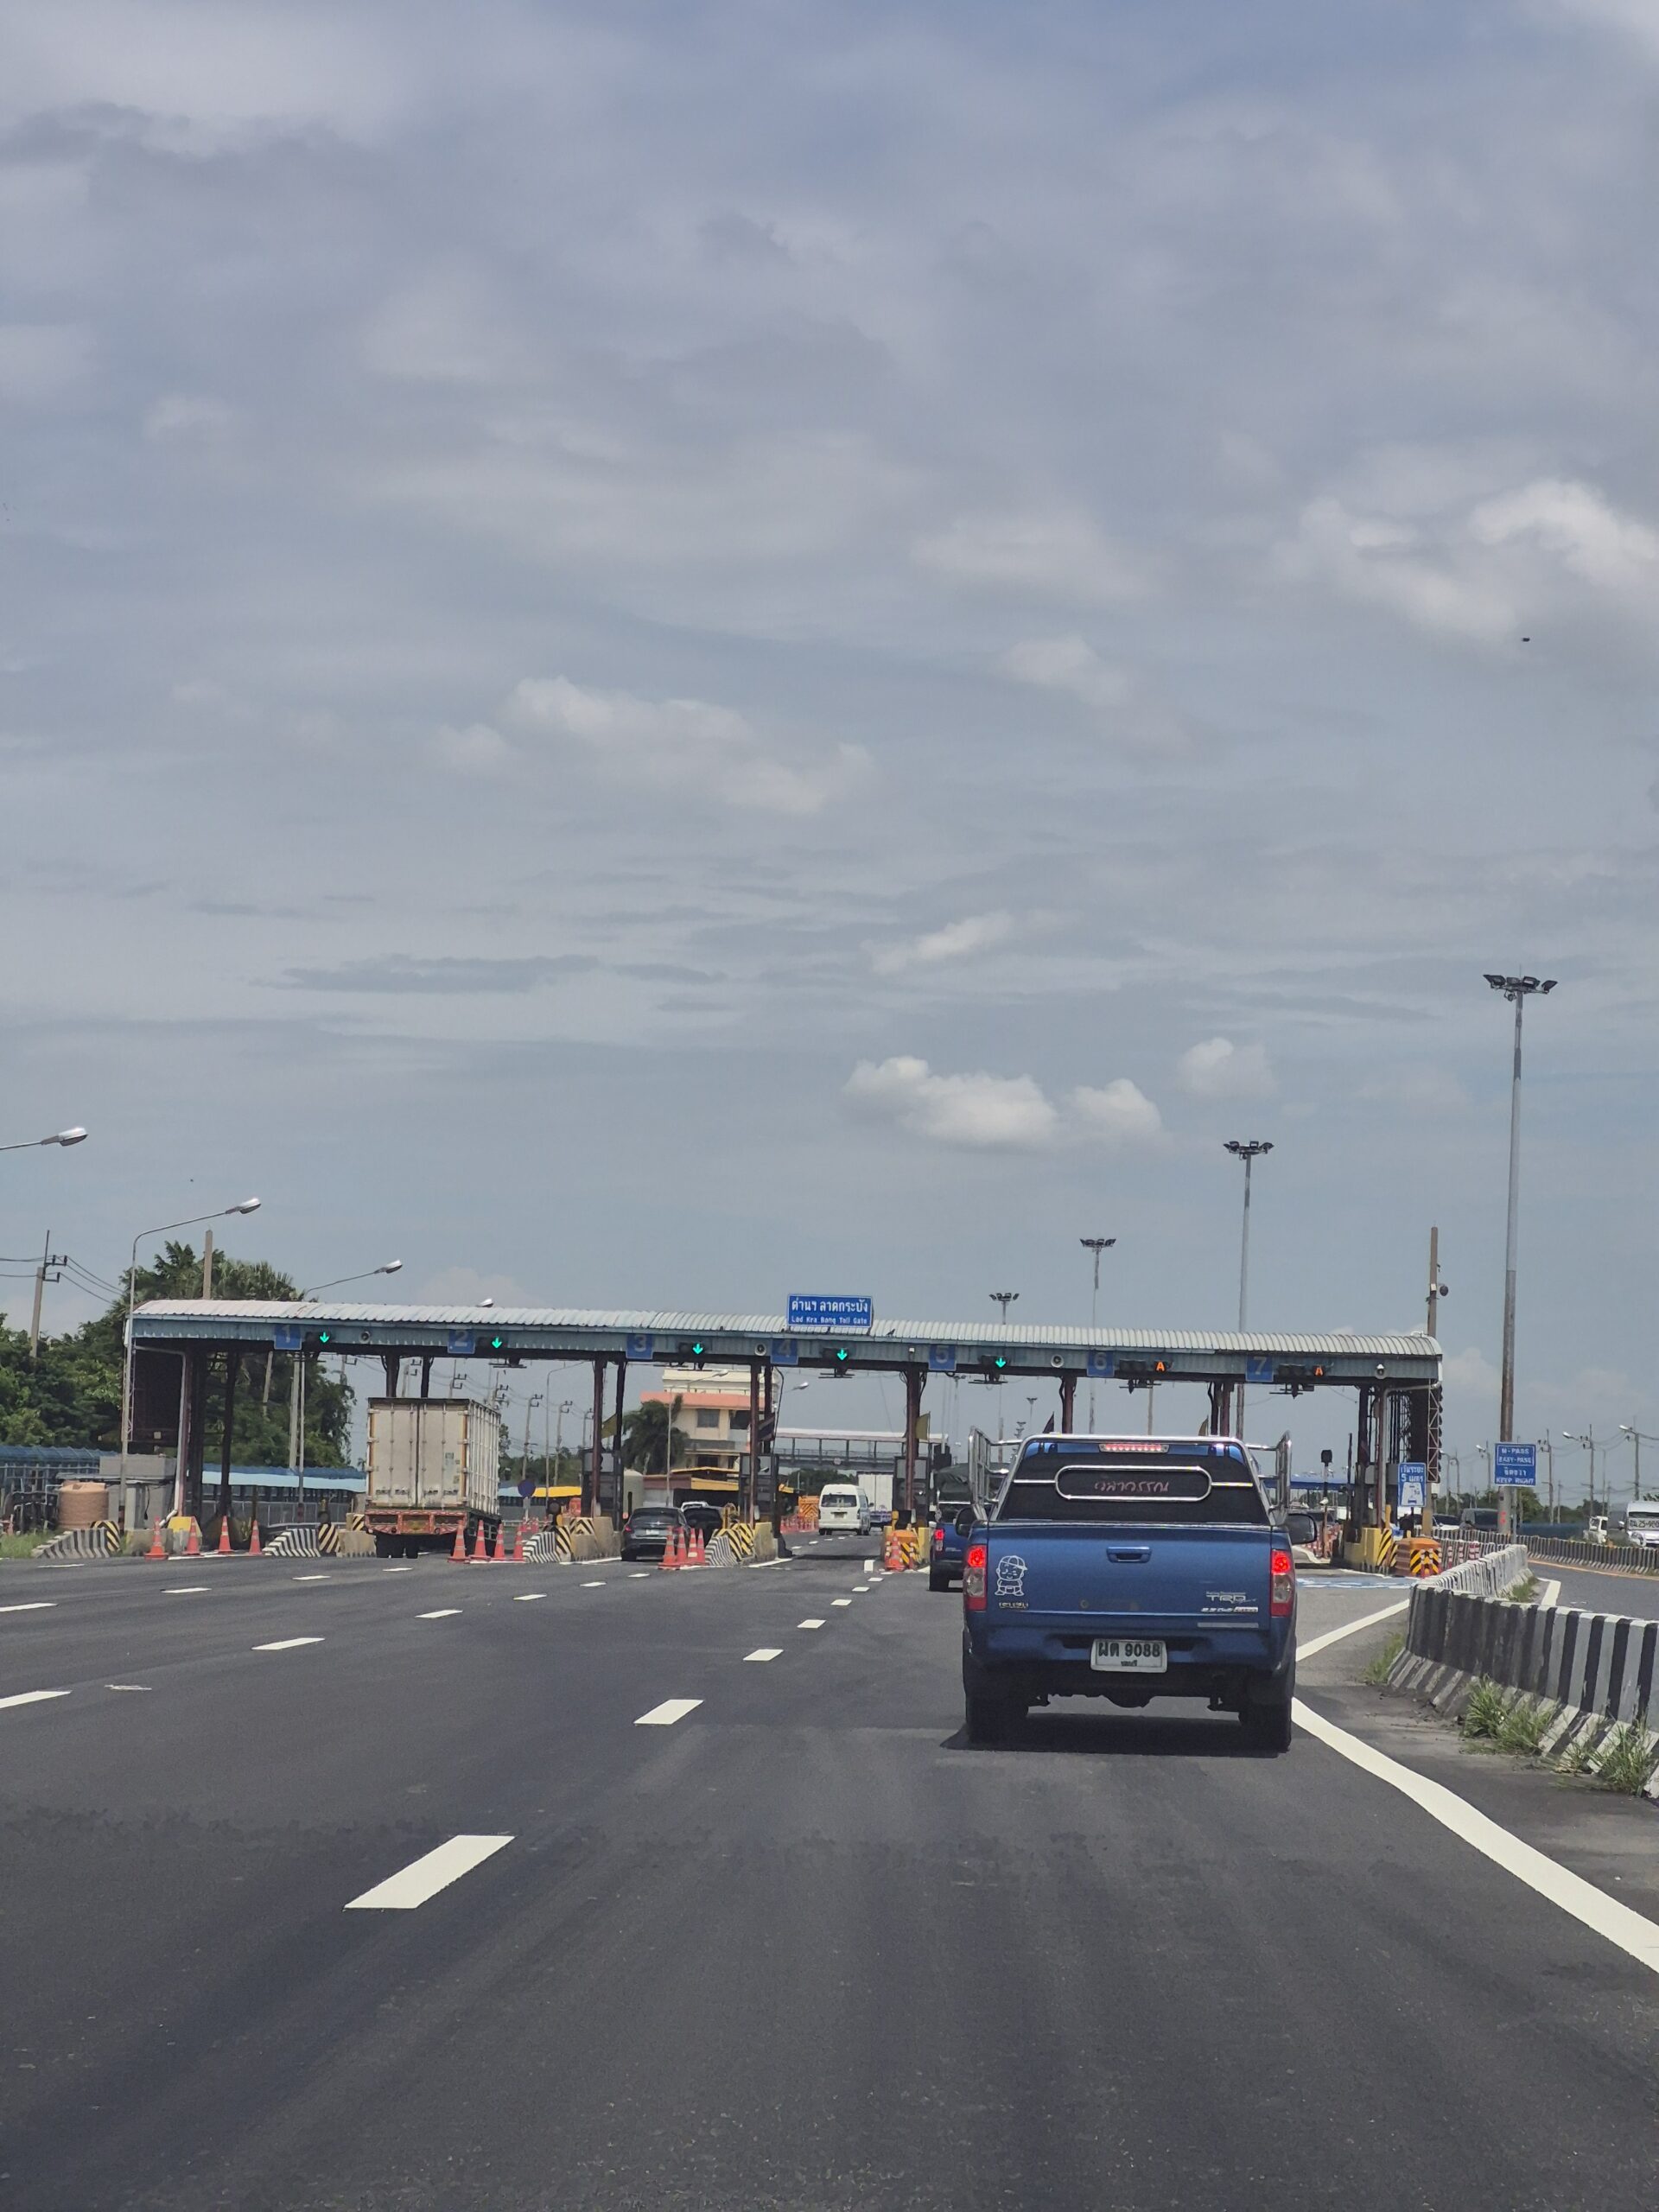
Simply follow the lane marked “Cash”, stop at the toll booth, and pay the toll directly to the attendant.
2. M-Flow (Barrier-Free Toll System)
M-Flow uses AI license plate recognition, allowing vehicles to pass through without stopping.
To use this system, you must register your vehicle on the official M-Flow platform and link a valid payment method in advance.
3. Easy Pass / M-Pass
These are prepaid electronic toll systems designed for frequent expressway users in Thailand.
After installing the electronic tag and topping up your account, toll fees are deducted automatically when passing through the dedicated lanes.
4. Contactless Credit or Debit Card (EMV)
Some toll plazas, such as those on Motorway 7 (Bangkok–Chonburi/Pattaya), accept contactless Visa or Mastercard payments.
Just tap your contactless card at the payment terminal—no cash required.
Important for Foreign-Plated Vehicles
If you’re driving a Thai-registered vehicle, you can generally use all four payment methods, depending on the toll road.
However, if you’re driving a foreign-registered vehicle (for example, from Malaysia, Singapore, or Laos), you should use the Cash lane. Foreign license plates are currently not supported by Thailand’s electronic toll systems such as M-Flow, Easy Pass, or M-Pass.
Final Tip
If you’re planning a road trip from Bangkok to Pattaya, or exploring other parts of Thailand by car, understanding the toll payment system before you set off will make your journey much smoother.
Drive safely and enjoy your adventure in Thailand! 🇹🇭🚗
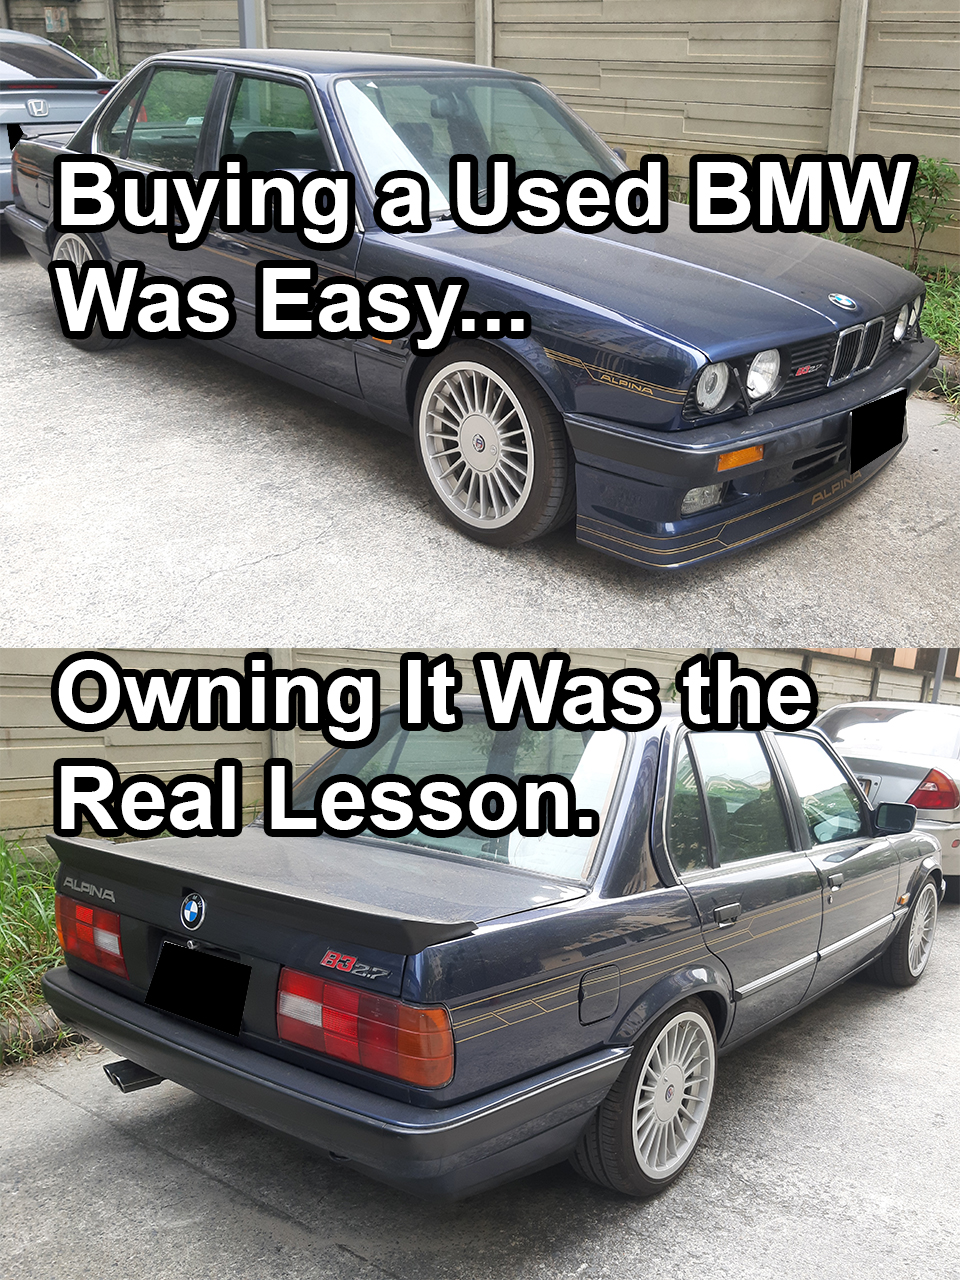
😂 Thinking of Buying a Used BMW? Here’s What I Learned the Hard Way…
There was a time when I thought I was pretty smart.
I saw a used BMW for just over $10,000. The car looked amazing. When the lights came on, it instantly had that premium feel.
I stood next to the car for quite a while. Only one sentence kept repeating in my head:
👉 “Maybe it’s time to upgrade my life.”
The test drive wasn’t even finished yet, but in my mind I was already imagining everything — driving to meet friends, pulling into a parking spot, stepping out of the car and closing the door.
That moment.
Cool.
So… I signed the deal.
The first day I drove it home, I felt unstoppable.
Every traffic light seemed to smile at me. Even filling up at the gas station felt a little more “premium.”
Friends saw the car and said: “Wah bro, you made it!”
I just smiled and thought to myself: Yeah… maybe I did.
Then one month later…
One morning when I started the car, a warning light flashed.
I was still calm.
“Small issue,” I thought. “It’s a European car after all.”
So I drove it to a workshop.
The mechanic looked at it… tapped a few things… then calmly said:
“This needs to be replaced.”
I asked, “How much?”
He said, “Four digits.”
Me: 🙂
That was the moment I understood something important:
👉 Buying a BMW is easy. Owning one is where the real journey begins.
After that, the little things started appearing.
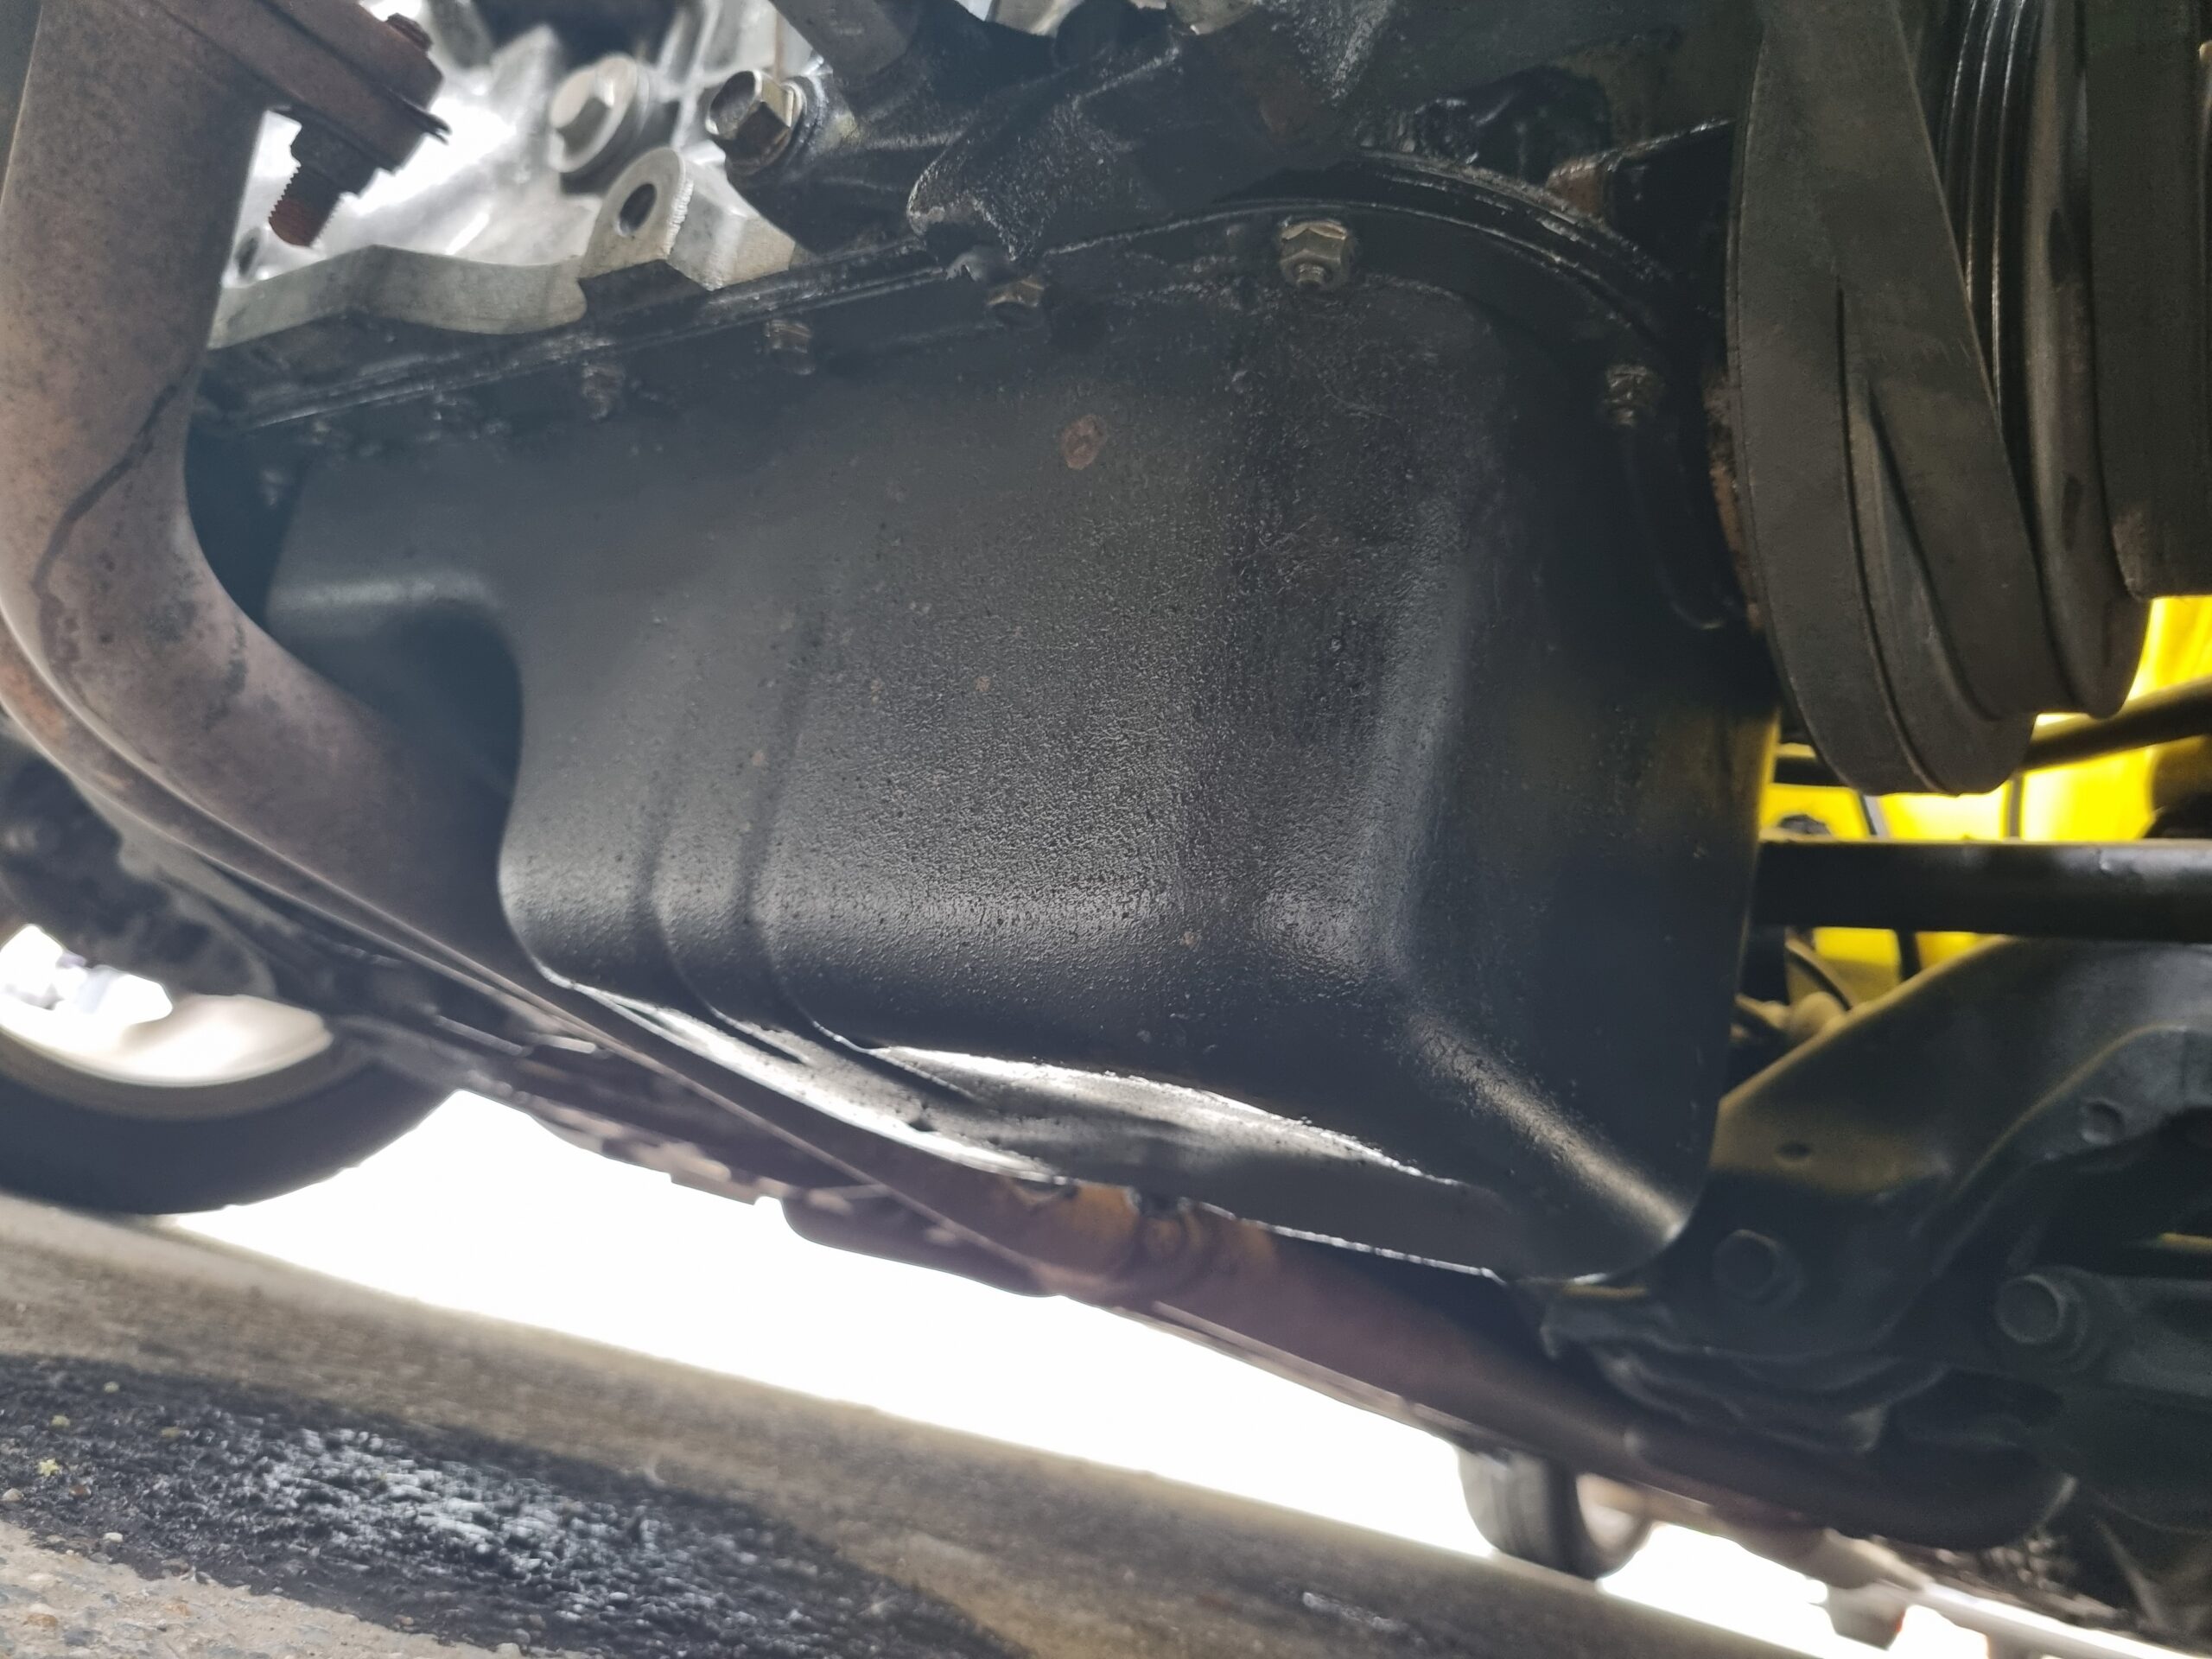
Today it’s a sensor. Tomorrow it’s another part. Nothing ever seems too serious, but each repair hits just enough to make your heart ache a little.
You won’t go bankrupt overnight… but you will slowly become a lot more realistic.
The funniest part is this:
When the car is running perfectly, I truly love it.
On the highway — the stability, the power — it really makes you feel like:
👉 “Maybe the extra cost is worth it.”
But the moment I step into the workshop again, I start questioning my life choices:
👉 “Maybe I could’ve bought a Perodua Myvi and lived a happier life?”
Eventually, I got smarter.
I started learning how to check a car’s service history. I started understanding the importance of maintenance records. And I realized something important:
👉 Looks can be very misleading.
Some cars look almost brand new on the outside… but inside, they’re already exhausted.
When you buy a used car, you’re not just buying a vehicle.
You’re inheriting the previous owner’s story.
But if you ask me: “Do you regret it?”
Honestly…
No.
Because the car did give me some amazing moments.
But it also taught me something valuable:
👉 Just because you can afford to buy something… doesn’t mean you can afford to own it.
So if you’re thinking about buying a used BMW right now, I’m not going to tell you not to buy it.
I’ll only say one thing:
👉 Before you buy, ask yourself — are you looking for an experience… or are you ready for the responsibility?
Because this car won’t just take you to places.
It might take you through a whole chapter of life. 🙂
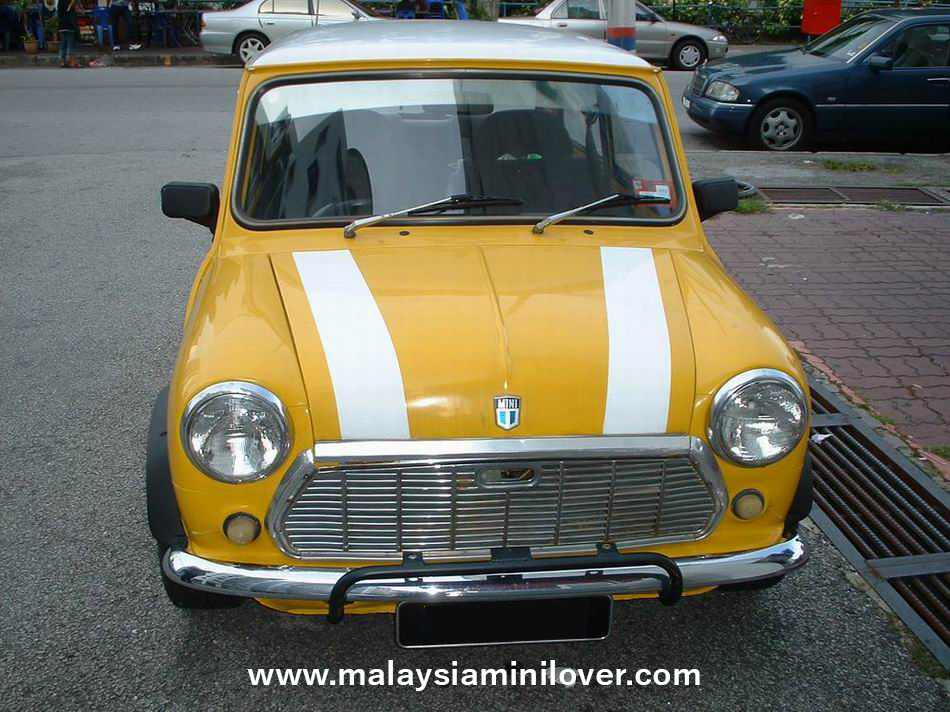
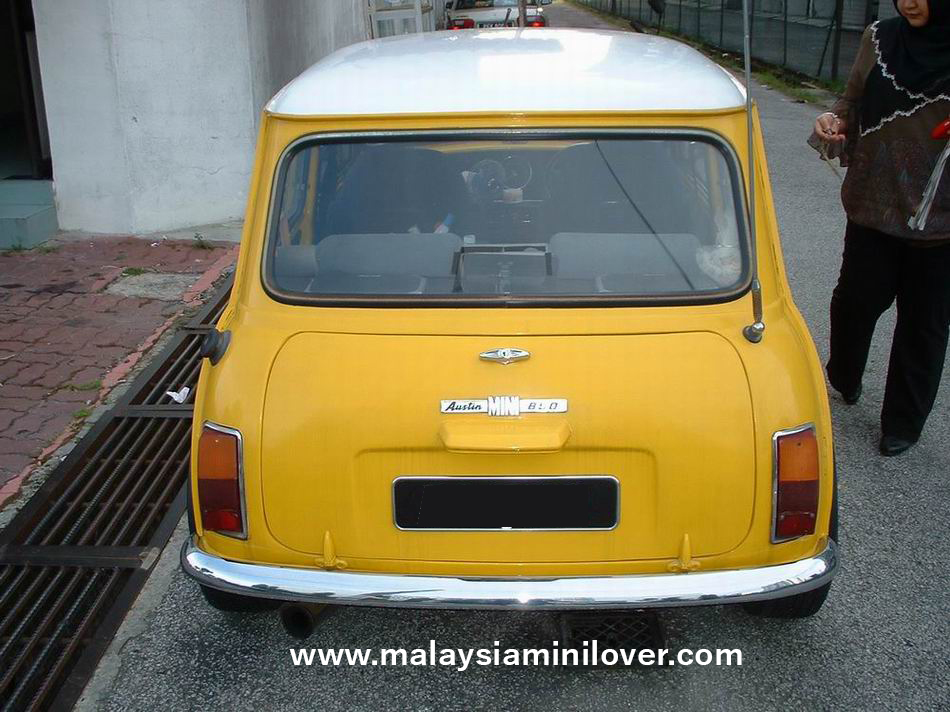
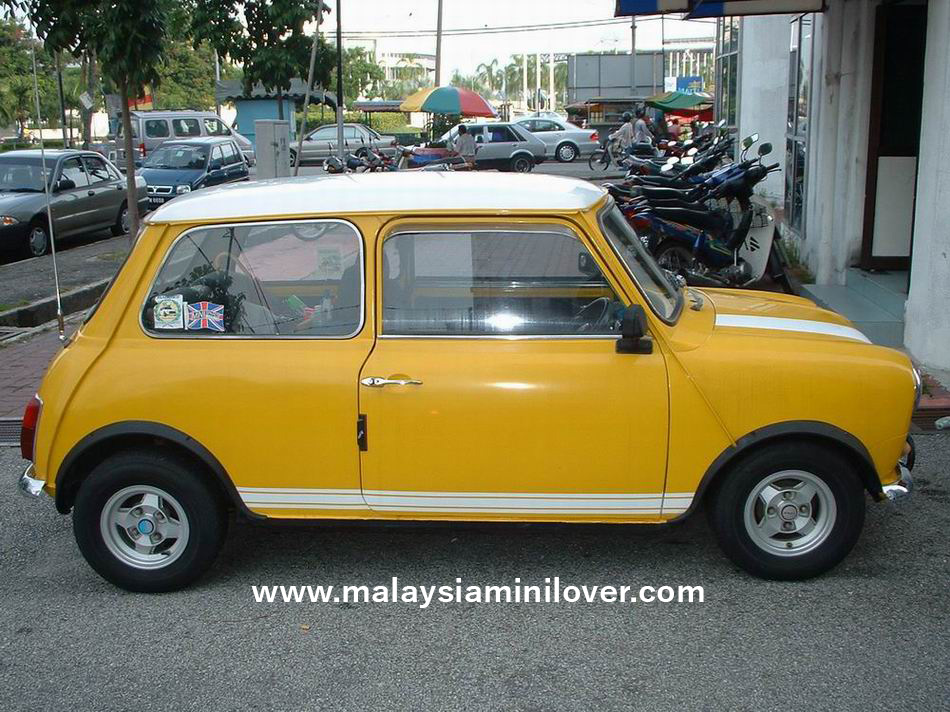
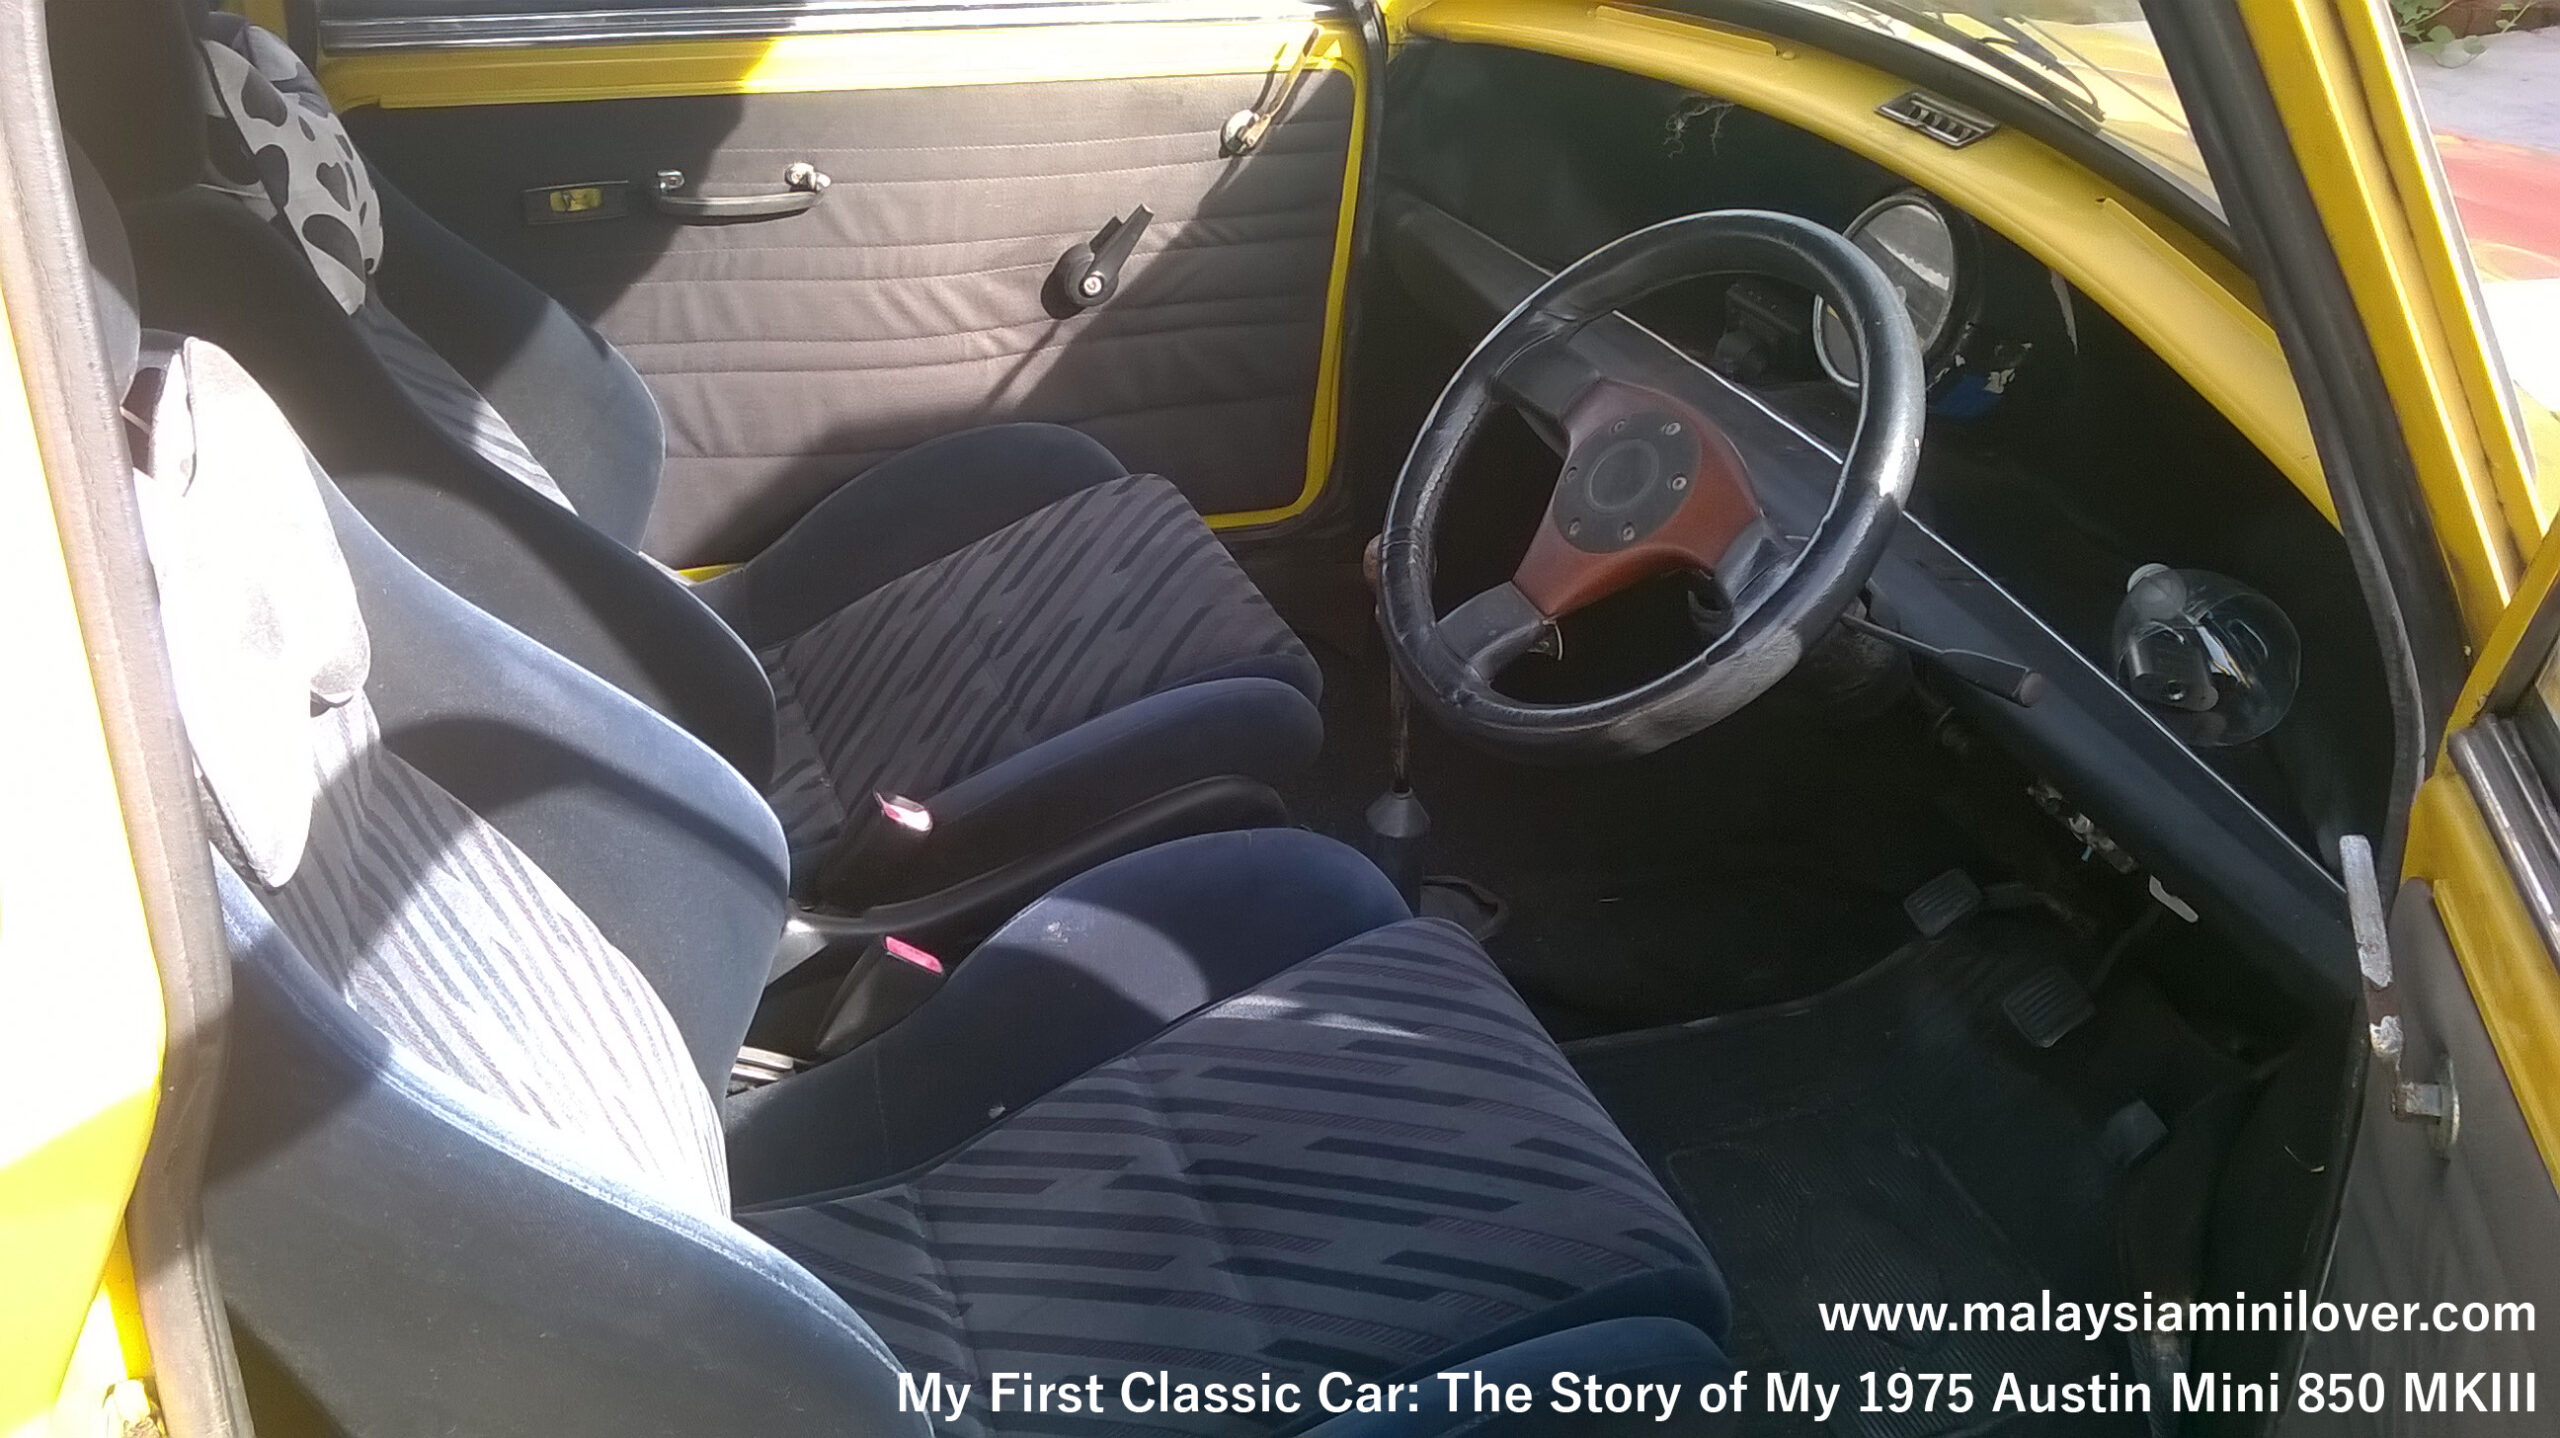
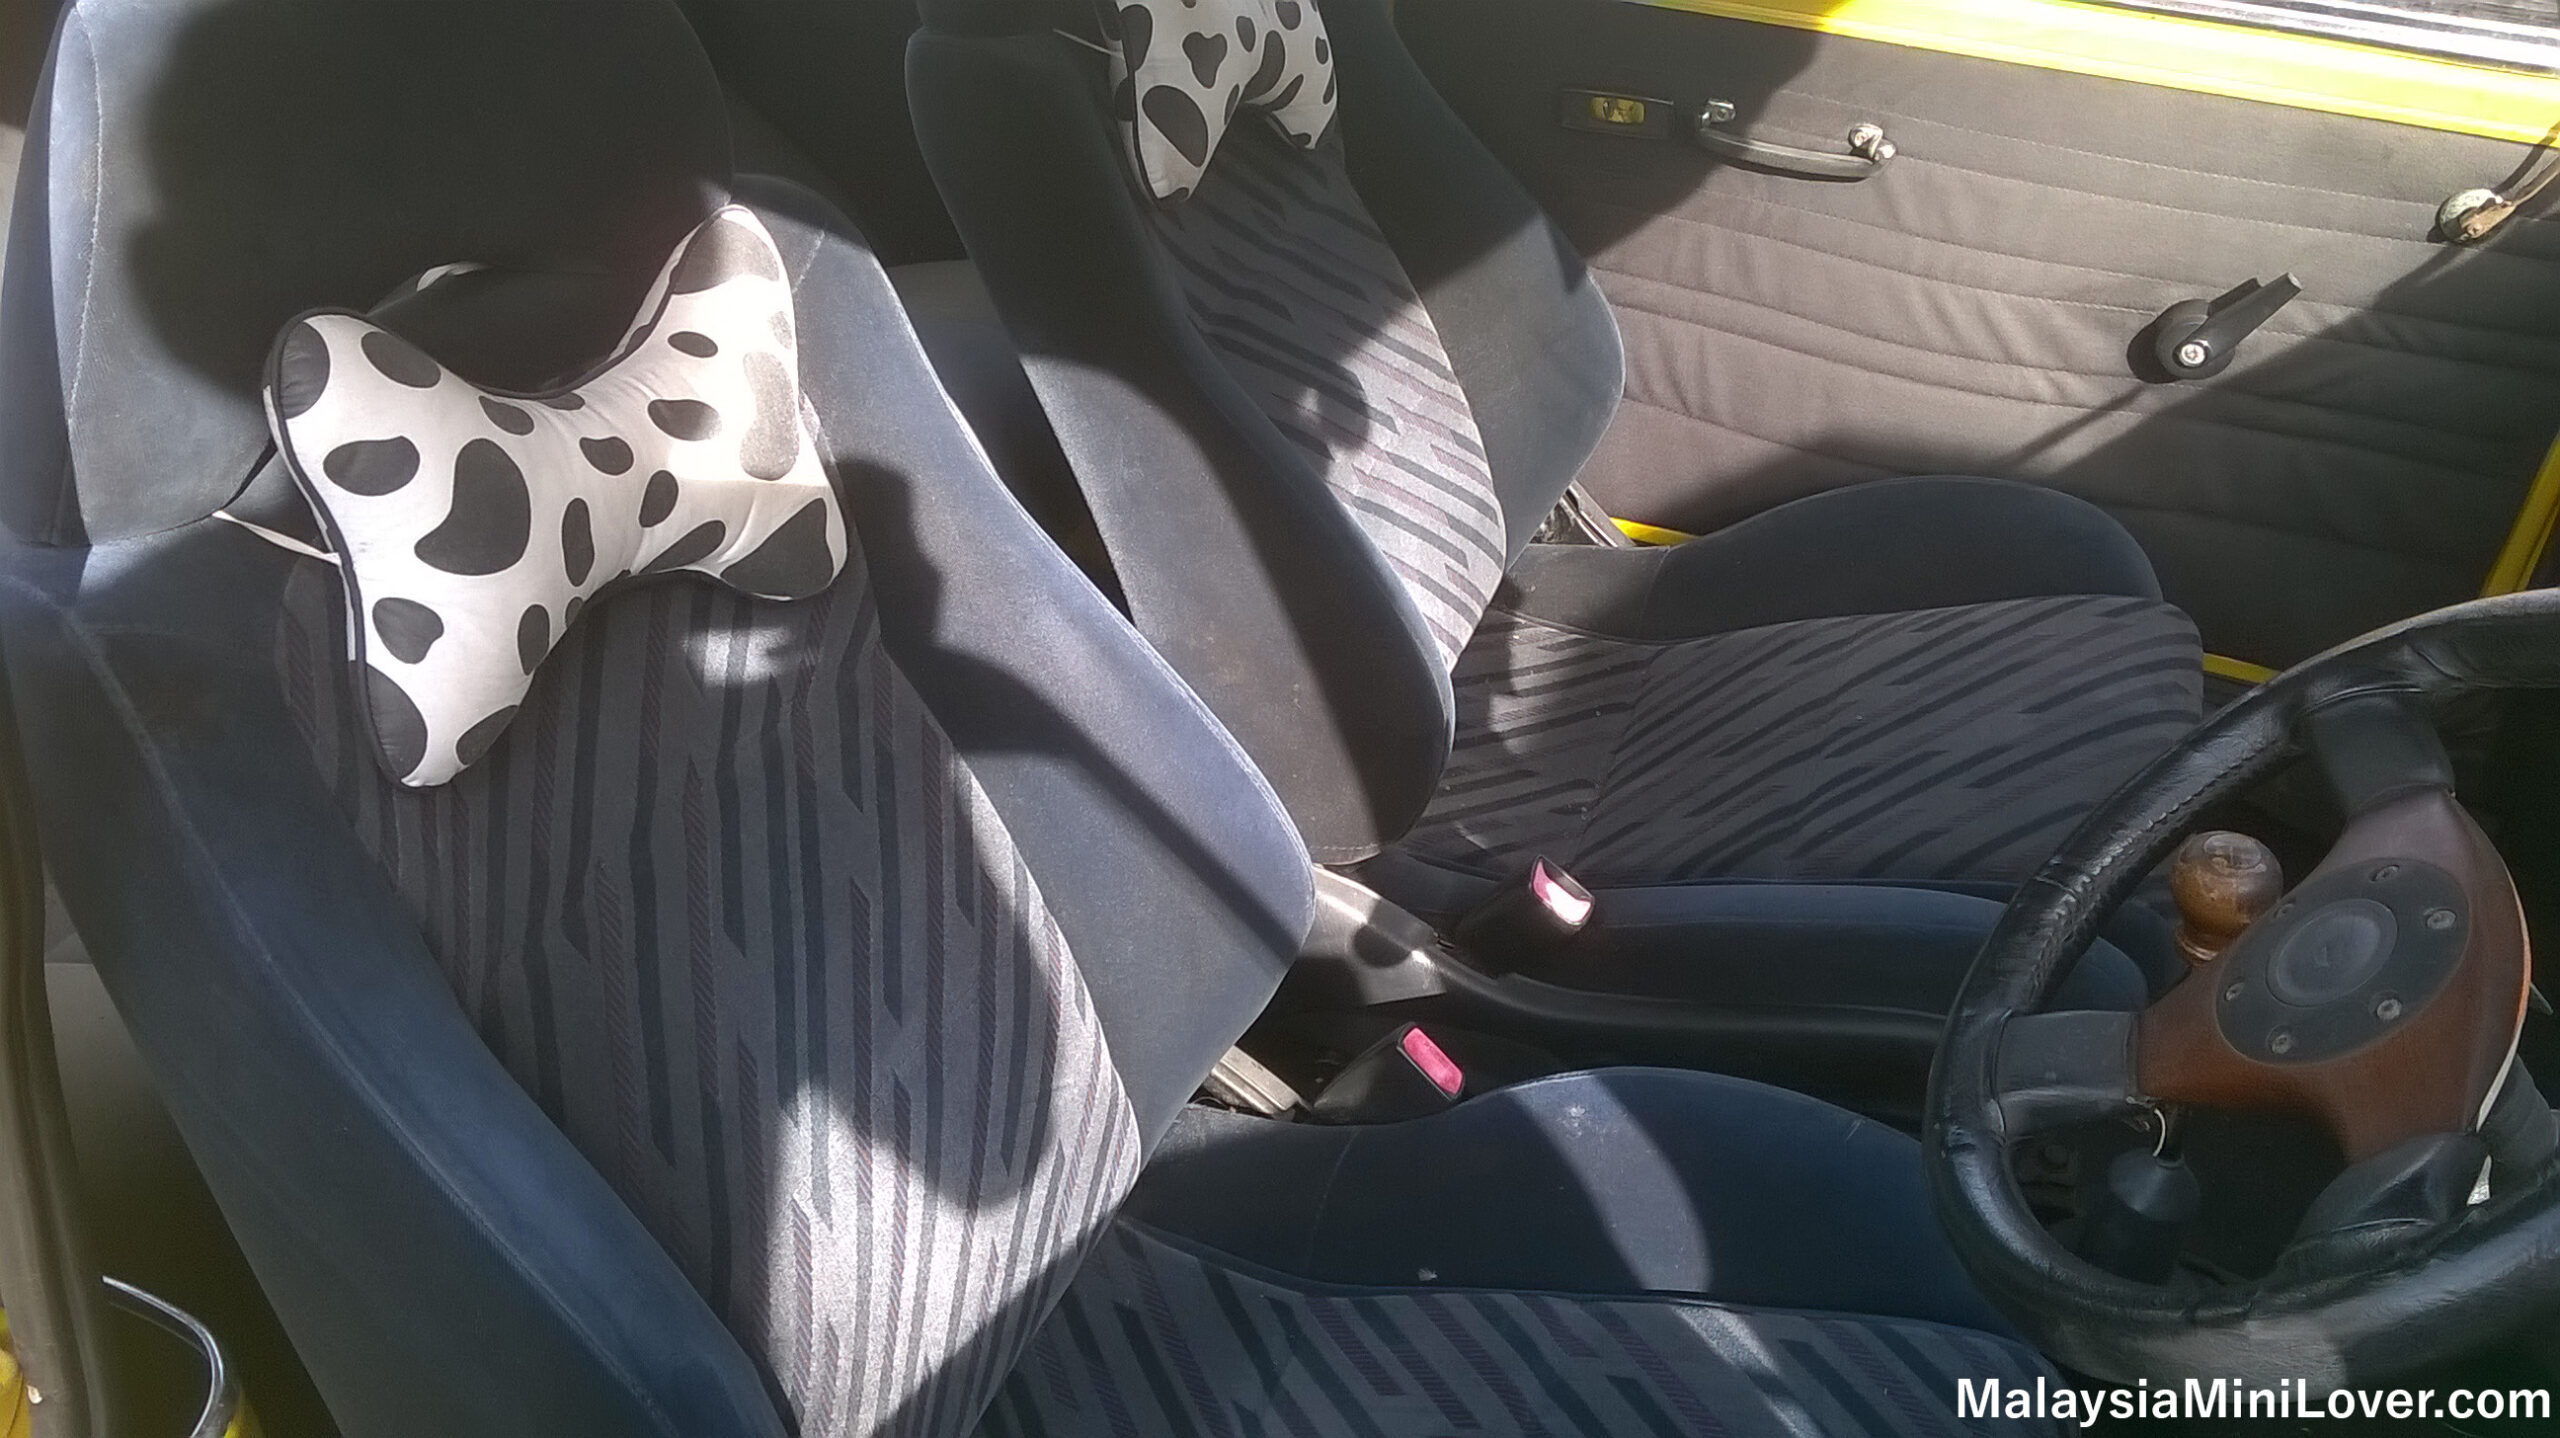
This is my first classic car: a 1975 Austin Mini 850 MKIII
It was September 8, 2003. I was riding on a motorbike with a friend, heading home after lunch. Out of the blue, I saw a lady driving this Mini on the street — and I quickly went after it.
The car stopped at a bank after a few minutes of chasing. A lady got out of the car, and I walked up to her and asked if she was interested in selling it.
“This is my father’s car. I think yes, he is selling it,” she replied.
I was happy to hear that her father — the owner — was indeed selling the car. I asked if she knew the price, and she said it was RM4,000 (about $950 USD or £700 GBP).
She seemed to be in a rush that day, so I got her father’s phone number from her.
This is another photo I took on the same day. The lady in the photo is the owner’s daughter, whom I spoke to.
Photo taken on September 8, 2003
So eventually, I called the owner on the same day. We arranged a time to meet up to discuss buying the car. I was still a poor student at the time, so I asked if he would consider selling it at a lower price.
He said his original intention was to sell the car for RM4,500, but his daughter had mistakenly told me RM4,000, so he agreed to let it go for RM4,000.
The car didn’t have air conditioning, but it was in very good condition. The floorboard had been replaced, the engine had been rebuilt, and the brakes, clutch, and everything else worked well. It didn’t have front disc brakes — it had four drum brakes, front and rear — and it was fitted with 10-inch BWA sport rims.
Photo taken on September 8, 2003
Looking at the condition of the car, I decided to go ahead with the deal. I still remember that back then, no car inspection was required for a name transfer in Malaysia.
The owner was very kind — he even used his motorbike to pick me up from Penang Island and took me all the way to the Butterworth JPJ office for the name transfer. We simply took a queue number, filled in some forms, submitted photocopies of our ID cards, and kept our fingers crossed.
If my memory serves me right, no thumbprint was required at that time.
Afterwards, he brought me back to his house and invited me up to his apartment for a cup of tea. We chatted a bit about the history of the car.
It was very nice to learn about the history of the car and how the previous owner took care of it. Understanding the rebuild process was vital so I could maintain the car properly in the future.
The owner gifted me two rubber cones and explained how to handle the second gear if I found it hard to engage. I then happily drove the car home.
I’ve been using the car for more than two decades. Back then, owning a car during university life was fantastic — most of my friends didn’t have one, so I often picked up a few friends and drove this car across different provinces in Malaysia, from Penang to Kuala Lumpur, Selangor, and more.
Recently, I was forced to replace the car body due to rust issues, but yes, it’s been 22 years and I still own it. In fact, I now own three Minis, one of which is the new BMW MINI.
Are you a classic car owner? Drop your comment below to share your story!